Aegis Installer TUI
Aegis TUI is a terminal user interface frontend of Aegis, a tailored installer developed and optimized specifically for Athena OS.
To provide more accessible resources to the users, Aegis TUI provides a terminal interface to configure and install your systems according to your preferences.
Aegis will improve over time in order to detect automatically your hardware. It means that the installer is able to detect your environment (baremetal or virtualized), your CPU and your GPU. According to this information, all the needed drivers are automatically installed with no any actions by your side.
Aegis TUI can be run by running aegis-tui command and requires a working Internet connection.
Its purpose is to create a JSON configuration file containing all the user choices that is used to feed the Aegis backend, the real brain of the installer. The JSON configuration file will be saved as /tmp/config.json. This file has the following structure:
{    "partition": {        "device": "/dev/sda",        "mode": "Auto",        "encrypt_check": false,        "efi": true,        "swap": false,        "swap_size": "",        "partitions": []    },    "bootloader": {        "type": "grub-efi",        "location": "/boot"    },    "locale": {        "locale": [            "en_US.UTF-8 UTF-8"        ],        "virtkeymap": "en",        "x11keymap": "us",        "timezone": "Europe/Zurich"    },    "networking": {        "hostname": "athenaos",        "ipv6": false    },    "users": [        {            "name": "athena",            "password": "$6$99BF/Qo0T3QNKTVr$8PNNp8EkjhM./XeFUeW1hIBrbh9ev74HI73idhhQMUWVyGTzba85zl7tzhkDL27OUVJYzybnFNgNwYNaf3LiJ0",            "hasroot": true,            "shell": "fish"        }    ],    "rootpass": "$6$bFPyjuoCYjXVLoHy$c9oEzhS6gDj/icOsb2kPh43ML7V6FMeybNB6ZGu7deFKbhzTrOhr2loW/8WrrMbO1l1DTfe1E2SA46zt7tJKI1",    "desktop": "gnome",    "theme": "temple",    "displaymanager": "gdm",    "browser": "firefox",    "terminal": "kitty",    "extra_packages": [
    ],    "flatpak": true,    "zramd": true,    "kernel": "linux-lts",    "params": {        "cores": "",        "jobs": ""    }}
{ "partition": { "device": "/dev/sda", "mode": "Auto", "encrypt_check": false, "efi": true, "swap": false, "swap_size": "", "partitions": [] }, "bootloader": { "type": "grub-efi", "location": "/boot" }, "locale": { "locale": [ "en_US.UTF-8 UTF-8" ], "virtkeymap": "en", "x11keymap": "us", "timezone": "Europe/Zurich" }, "networking": { "hostname": "athenaos", "ipv6": false }, "users": [ { "name": "athena", "password": "$6$eYaiImALQl2MYniY$6isIzrmojOfrtbZ0ijttiFEo8jyYnCYlQYzz7fUqJE0pxLRSdsYAMBg0zKCNb0dhURW/G1APNG3vonA1KcPJu1", "hasroot": true, "shell": "fish" } ], "rootpass": "$6$rIcLQOrbvMlmnIIg$NdUdh7D7jtvuwpl2N78snjVQvHoYR4Nq1jheWLND/BKAGkODIs0ceTNgd9u4z926zbYfAwjgbtOqjqGy6KtWi0", "desktop": "gnome", "theme": "temple", "displaymanager": "gdm", "browser": "firefox", "terminal": "kitty", "extra_packages": [
], "flatpak": true, "zramd": true, "kernel": "linux-lts", "params": { "cores": "0", "jobs": "32" }}The installation logs will be saved to /tmp/aegis.log and copied to the installed system to /var/log/aegis.log.
Installation
Open the terminal and run:
aegis-tui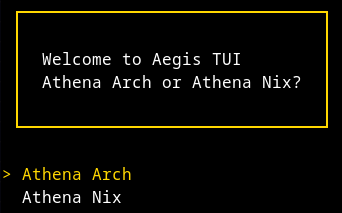
Choose your favourite base system between Athena Arch or Athena Nix
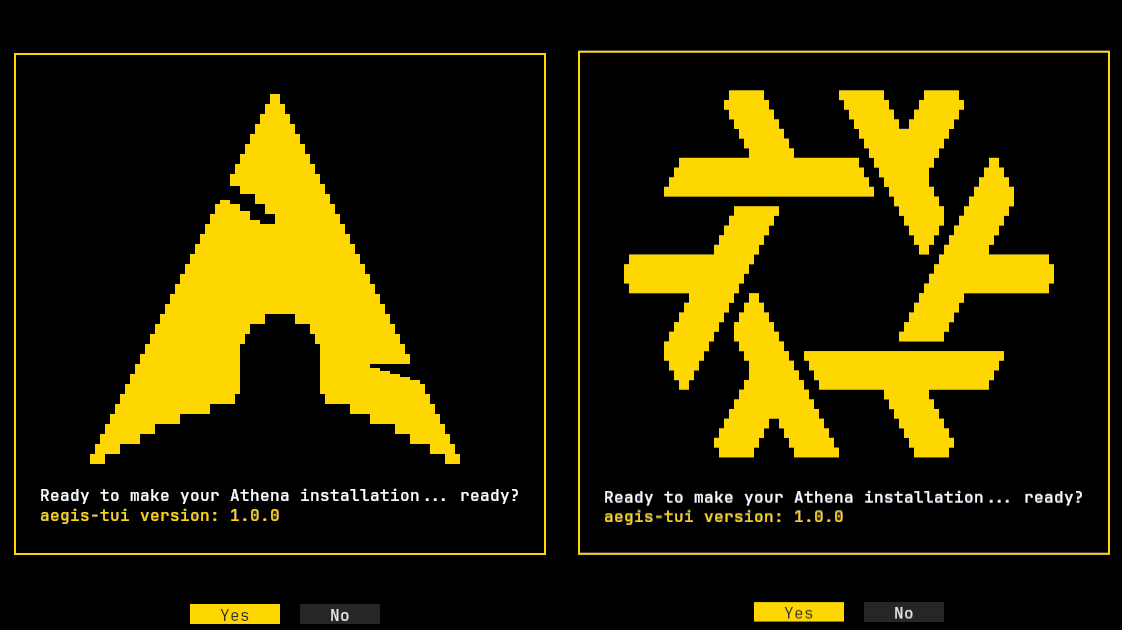
Timezone
Select the timezone

Console Keymap
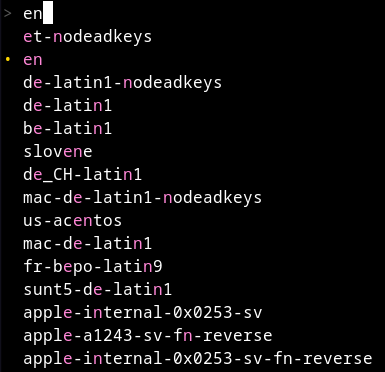
Select the console keymap
X11 Keymap
Select the X11 keymap

Locale
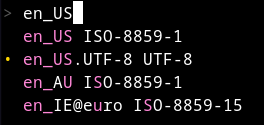
Select the locale
Users
Set your user account

Set your password


Choose if the inserted password should be the same for the root account too

If choose No, set a password for the root account


Shell
Select your favourite shell

Hostname
Set the hostname

Partitioning
Select your partition according to the installation type you are going to. Check the Installation chapter related to your setup and follow there the partition scheme to implement:
Desktop
Select your favourite theme

Theme
Select your favourite theme

Login Manager
Select your favourite display manager for login

Browser
Select your favourite browser

Terminal
Select your favourite terminal

Miscellaneous Settings
Select your favourite settings by using Space key button and confirm by Enter

Review the Summary and run the installation.
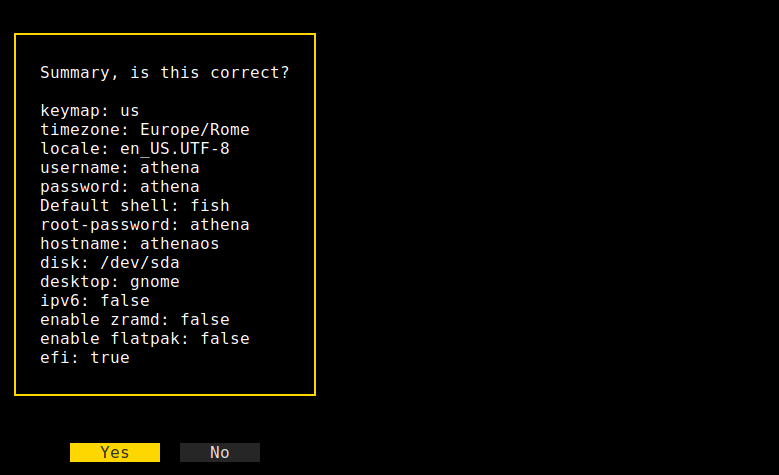
Select the install parameters for the installation process (Athena Nix only)


Finally, if you are ready to install, proceed

During the installation, installation logs are saved in /tmp/aegis.log. In case the installation gets some issues, run:
install-logsand
config-logsto get the links to https://termbin.com where the logs are temporary saved. Communicate these links to Athena OS Team for troubleshooting.
If no errors have been raised during the installation phase, you are ready to use Athena OS!
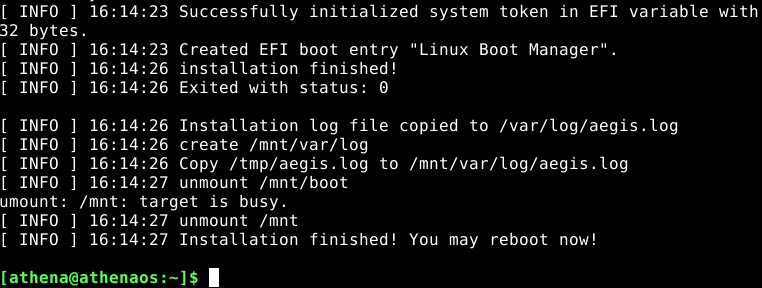
Before rebooting, if you installed Athena OS in dual boot with Windows, as explained in the related section, restore Microsoft bootloader inside the boot partition (i.e., /dev/nvme0n1p1):
sudo mount /dev/nvme0n1p1 /mntsudo cp -rf ~/Microsoft /mnt/EFI/sudo umount /mntOnce you reboot, and you land on the installed system, open the terminal and run:
sudo os-probersudo grub-mkconfig -o /boot/grub/grub.cfgIn this manner, Windows entry should be added in GRUB.
For Athena Nix installation, once reboot and land on the installed system, initialize Nix Channels by opening the terminal and running:
sudo nix-channel --add https://nixos.org/channels/nixos-unstable nixossudo nix-channel --add https://github.com/nix-community/home-manager/archive/master.tar.gz home-managersudo nix-channel --update