

Aegis Installer
Aegis is a terminal-based installer, developed, tailored and optimized specifically for Athena OS.
To provide more accessible resources to the users, Aegis provides a terminal interface to configure and install your systems according to your preferences.
Aegis will improve over time in order to detect automatically your hardware. It means that the installer is able to detect your environment (baremetal or virtualized), your CPU and your GPU. According to this information, all the needed drivers are automatically installed with no any actions by your side.
Aegis can be run by running aegis command and requires a working Internet connection.
Its purpose is to generate JSON system and drive configuration files containing all the user choices, set during the installation. The JSON configuration files will be saved as hidden temporary files /tmp directory. Configurations have the following structure:
{ "config": { "base": "Athena Arch", "design": "temple", "desktop_environment": "gnome", "display_manager": "cyberpunk", "extra_packages": [ "hoaxshell", "caido" ], "hostname": "athenaos", "keyboard_layout": "us", "locale": "en_US.UTF-8 UTF-8", "root_passwd_hash": "*REDACTED*", "timezone": "Europe/Rome", "users": [ { "groups": [ "wheel" ], "password_hash": "*REDACTED*", "shell": "fish", "username": "athena" } ] }}{ "drives": { "content": { "partitions": [ { "action": "delete", "blockdevice": "/dev/sdb1", "end": "1026047", "filesystem": "ext4", "flags": [], "label": null, "mountpoint": "/mnt/boot", "sectors": 1024000, "size": "524M", "start": "2048", "type": "filesystem" }, { "action": "delete", "blockdevice": "/dev/sdb2", "end": "30711807", "filesystem": "ext4", "flags": [], "label": null, "mountpoint": "/mnt", "sectors": 29685760, "size": "15G", "start": "1026048", "type": "filesystem" }, { "action": "create", "blockdevice": "/dev/sdb1", "end": "1026047", "filesystem": "fat32", "flags": [ "boot" ], "label": "BOOT", "mountpoint": "/boot", "sectors": 1024000, "size": "524M", "start": "2048", "type": "filesystem" }, { "action": "create", "blockdevice": "/dev/sdb2", "end": "28614655", "filesystem": "btrfs", "flags": [], "label": "ROOT", "mountpoint": "/", "sectors": 27588608, "size": "14G", "start": "1026048", "type": "filesystem" }, { "action": "create", "blockdevice": "/dev/sdb3", "end": "30711807", "filesystem": "swap", "flags": [], "label": "SWAP", "mountpoint": null, "sectors": 2097152, "size": "1G", "start": "28614656", "type": "filesystem" } ], "type": "msdos" }, "device": "/dev/sdb", "type": "disk" }}The installation logs will be saved to /tmp/aegis.log and copied to the installed system to /var/log/aegis.log.
Open the terminal and run:
sudo aegis
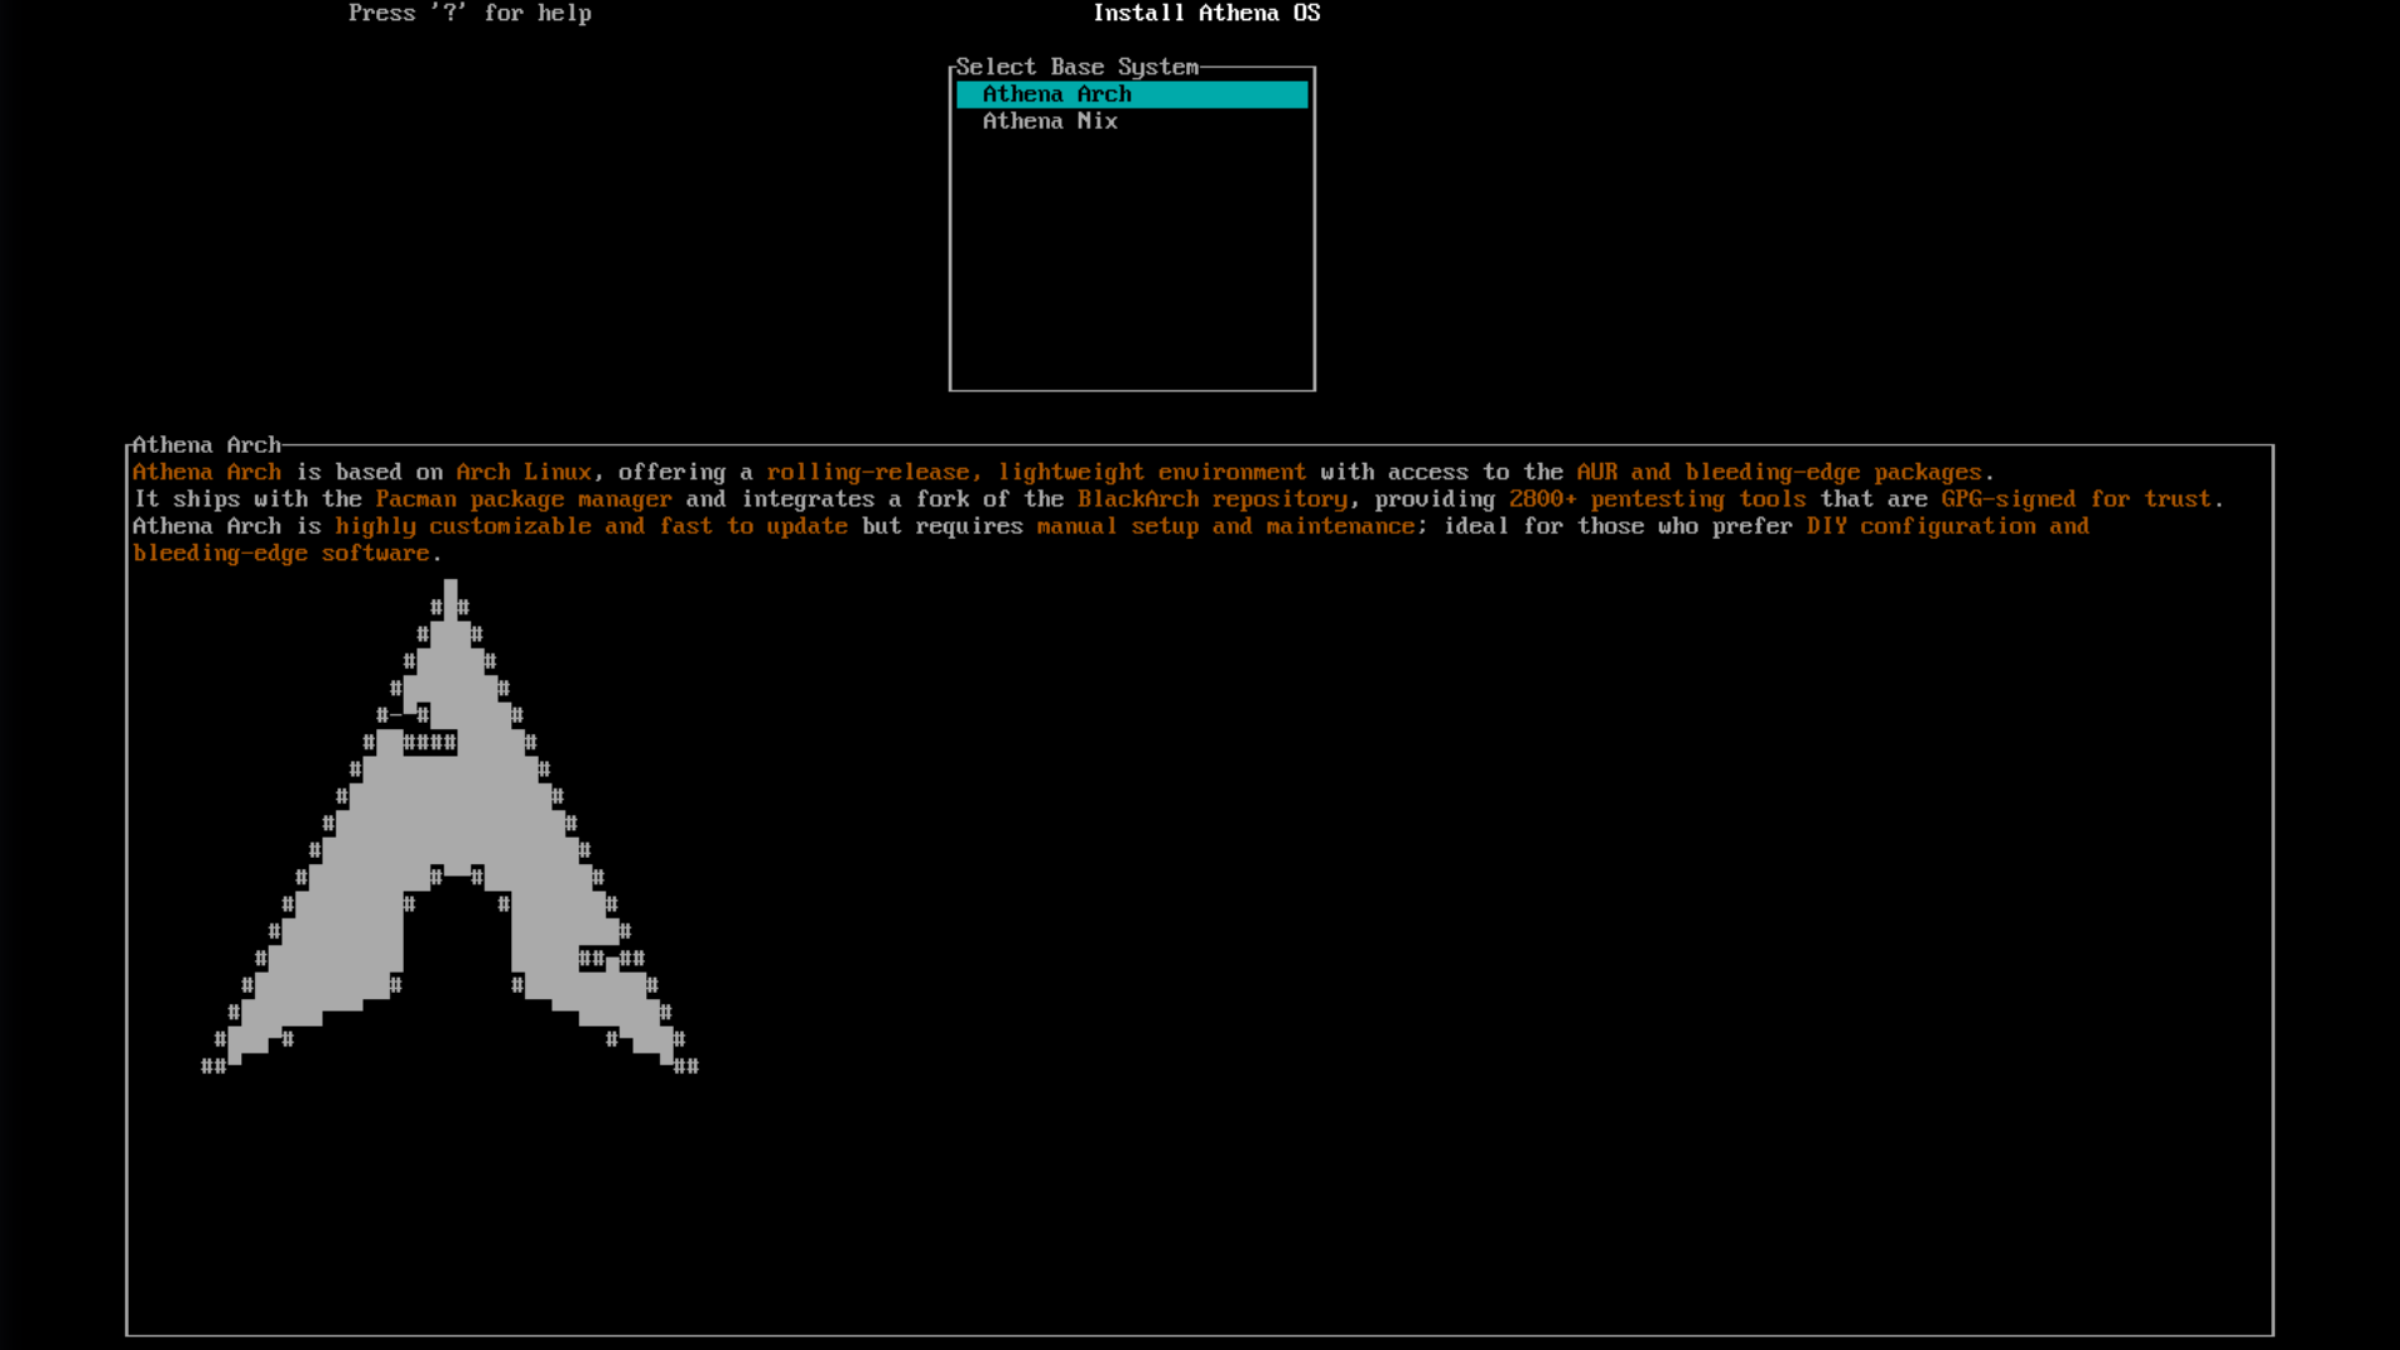
Choose your favourite base system
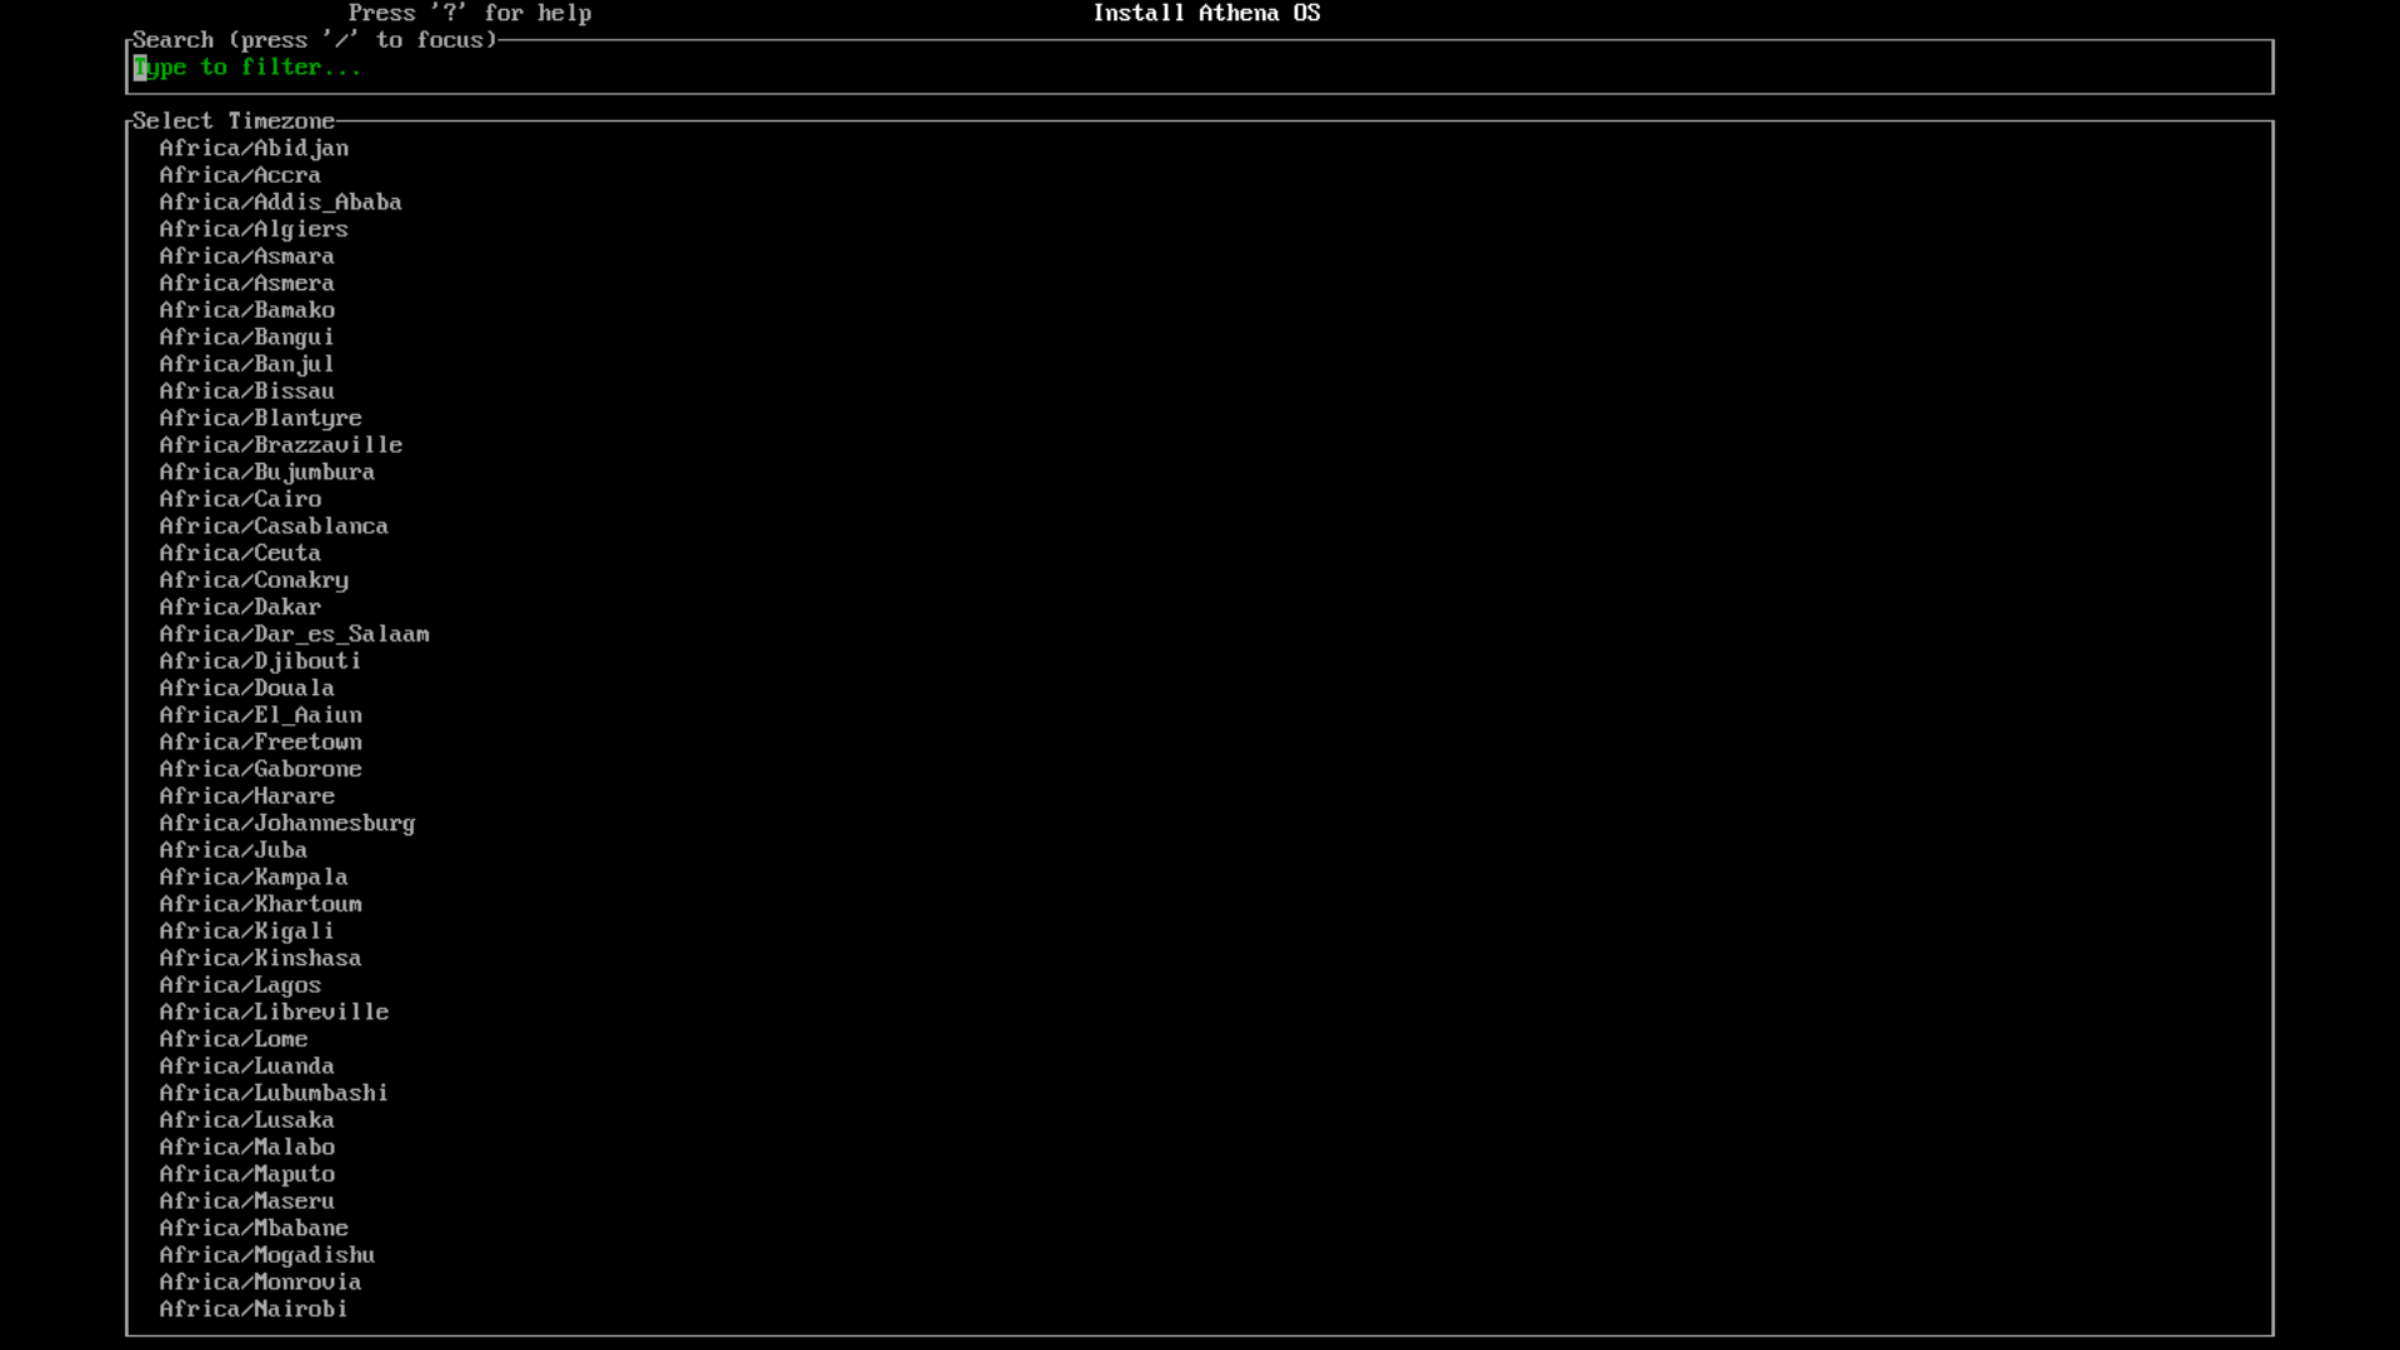
Timezone
Section titled “Timezone”Select the timezone
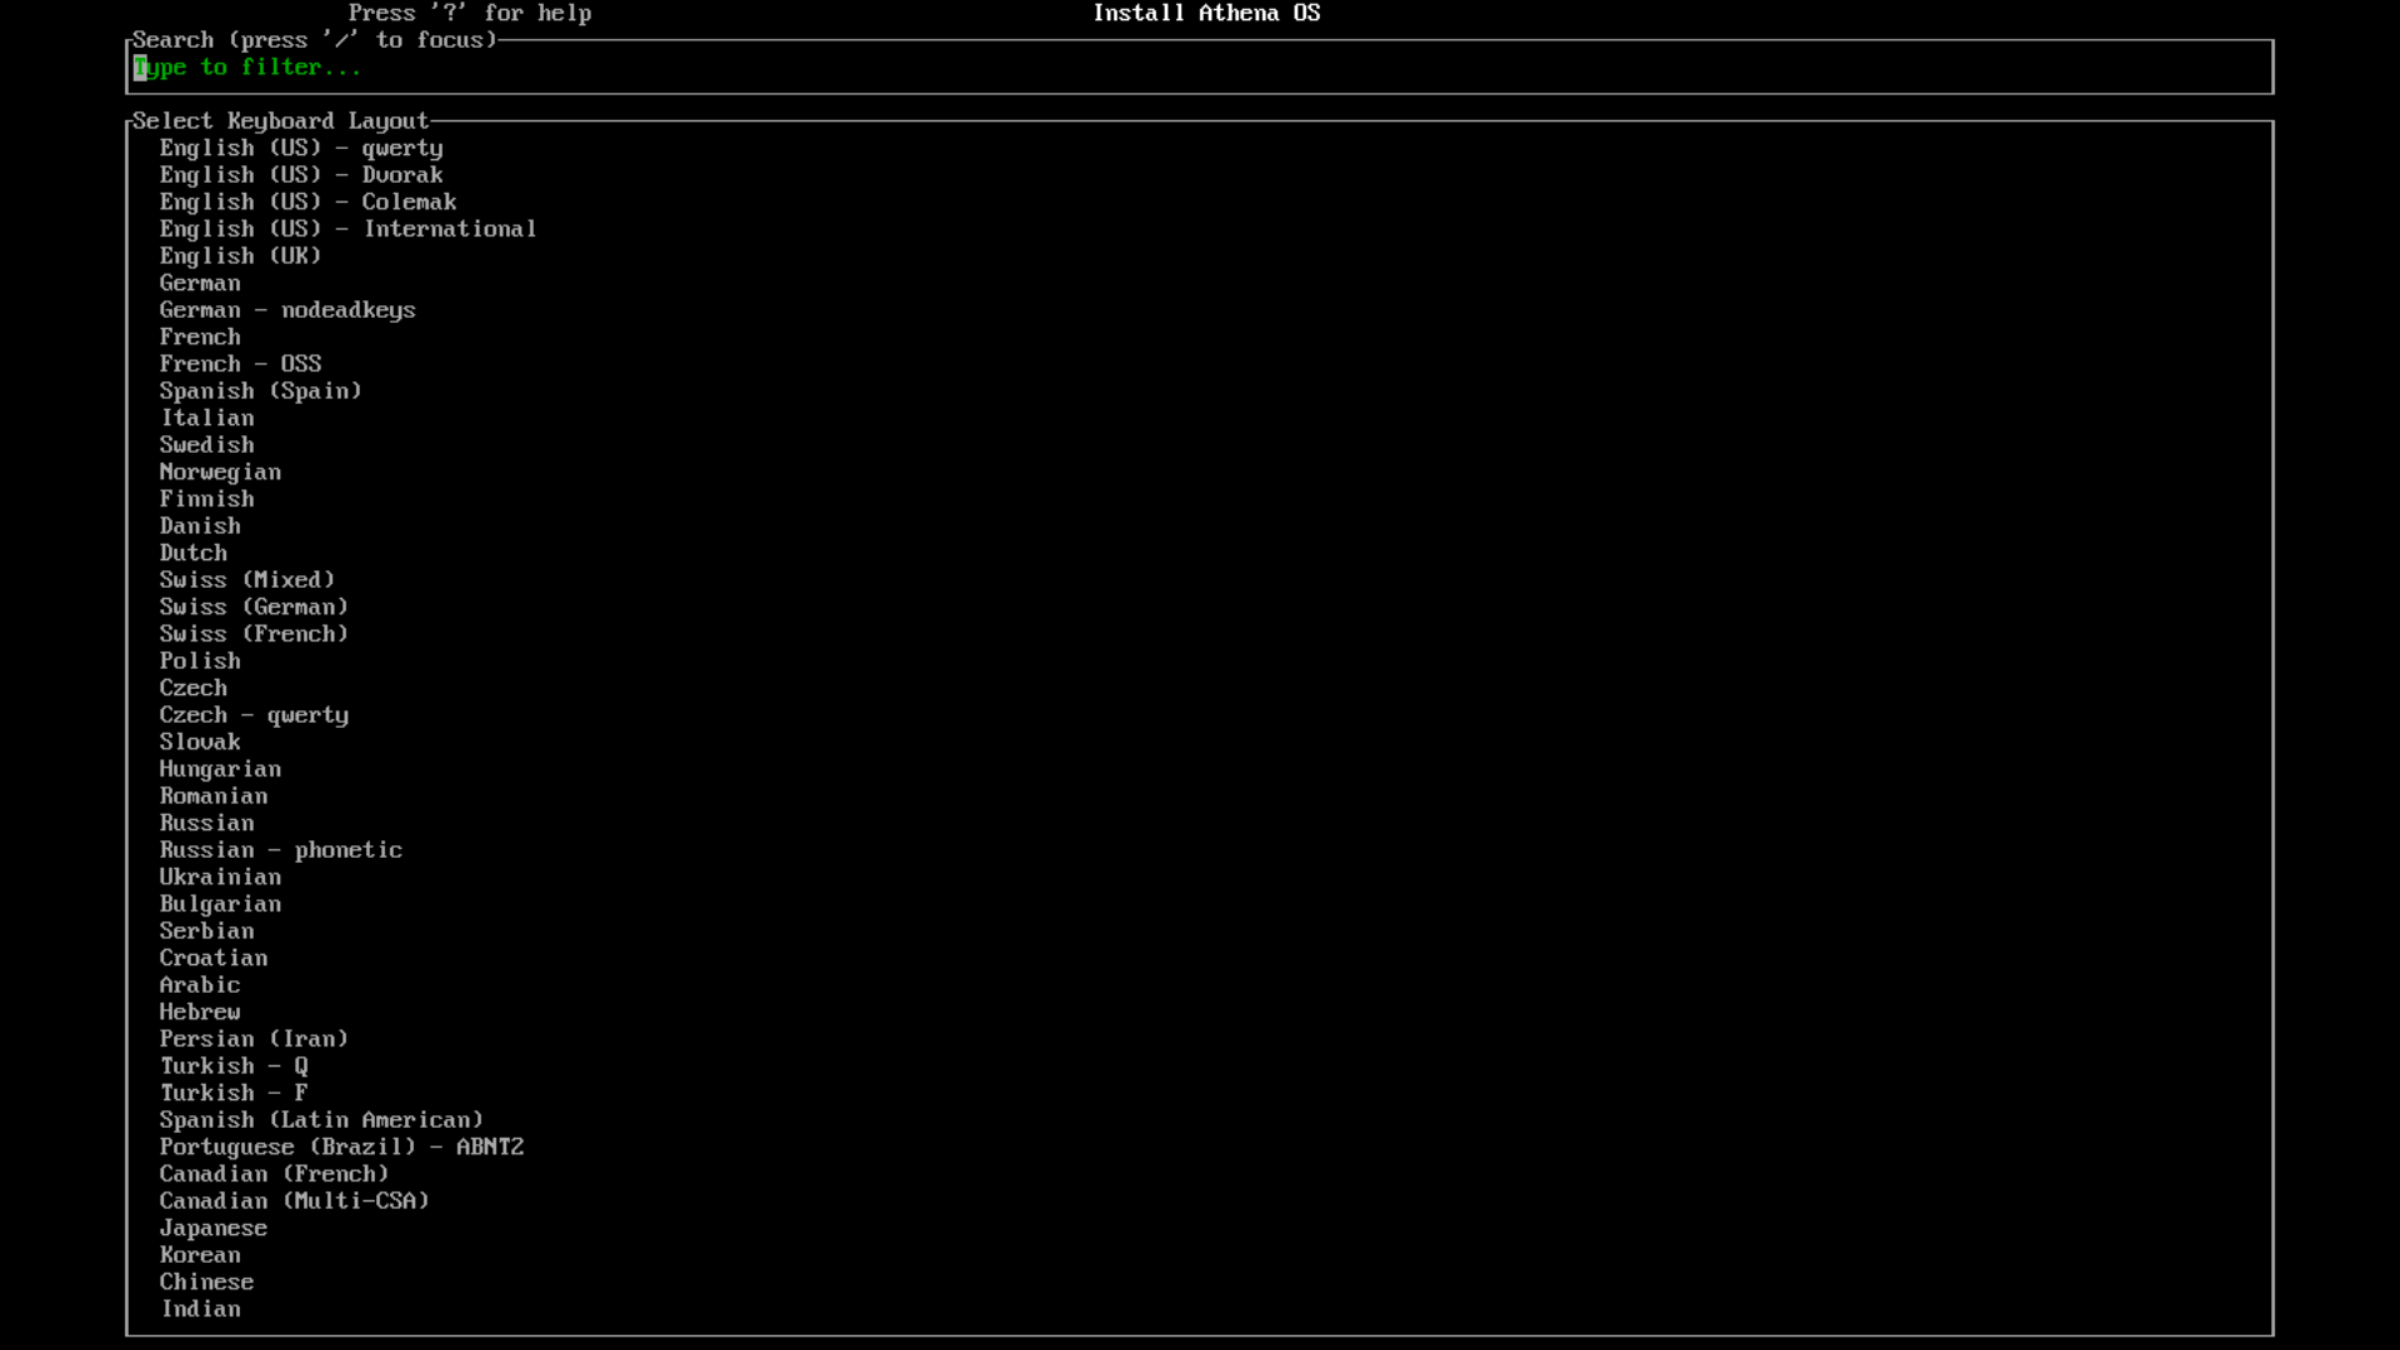
Keyboard Layout
Section titled “Keyboard Layout”Select the keyboard layout
Locale
Section titled “Locale”Select the locale

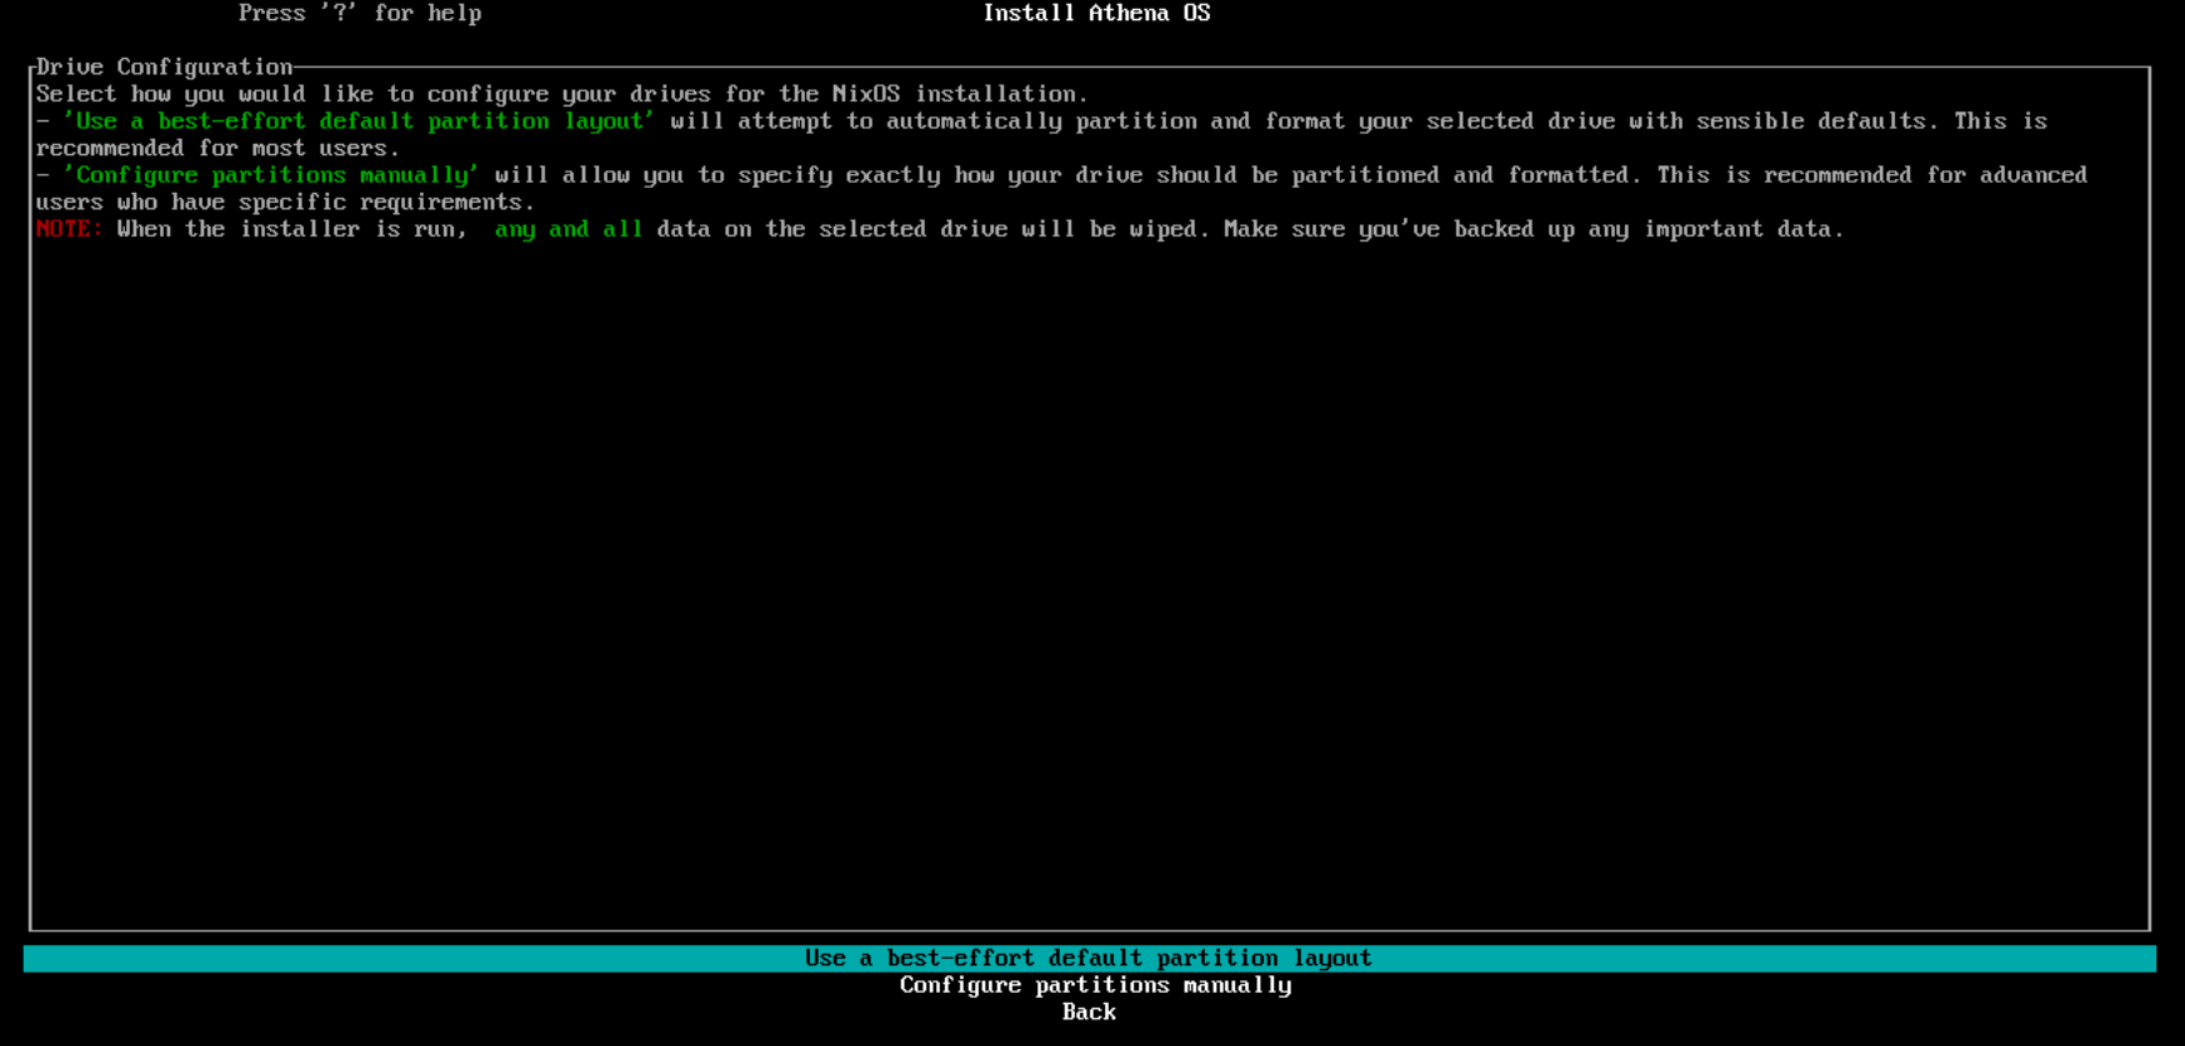
Partitioning
Section titled “Partitioning”Select Use a best-effort default partition layout or Configure partitions manually according to your need:
Use a best-effort default partition layout
Section titled “Use a best-effort default partition layout”By clicking on this mode, you are asked to select among the available disks or devices.

Once you select one, you are asked for a swap device.

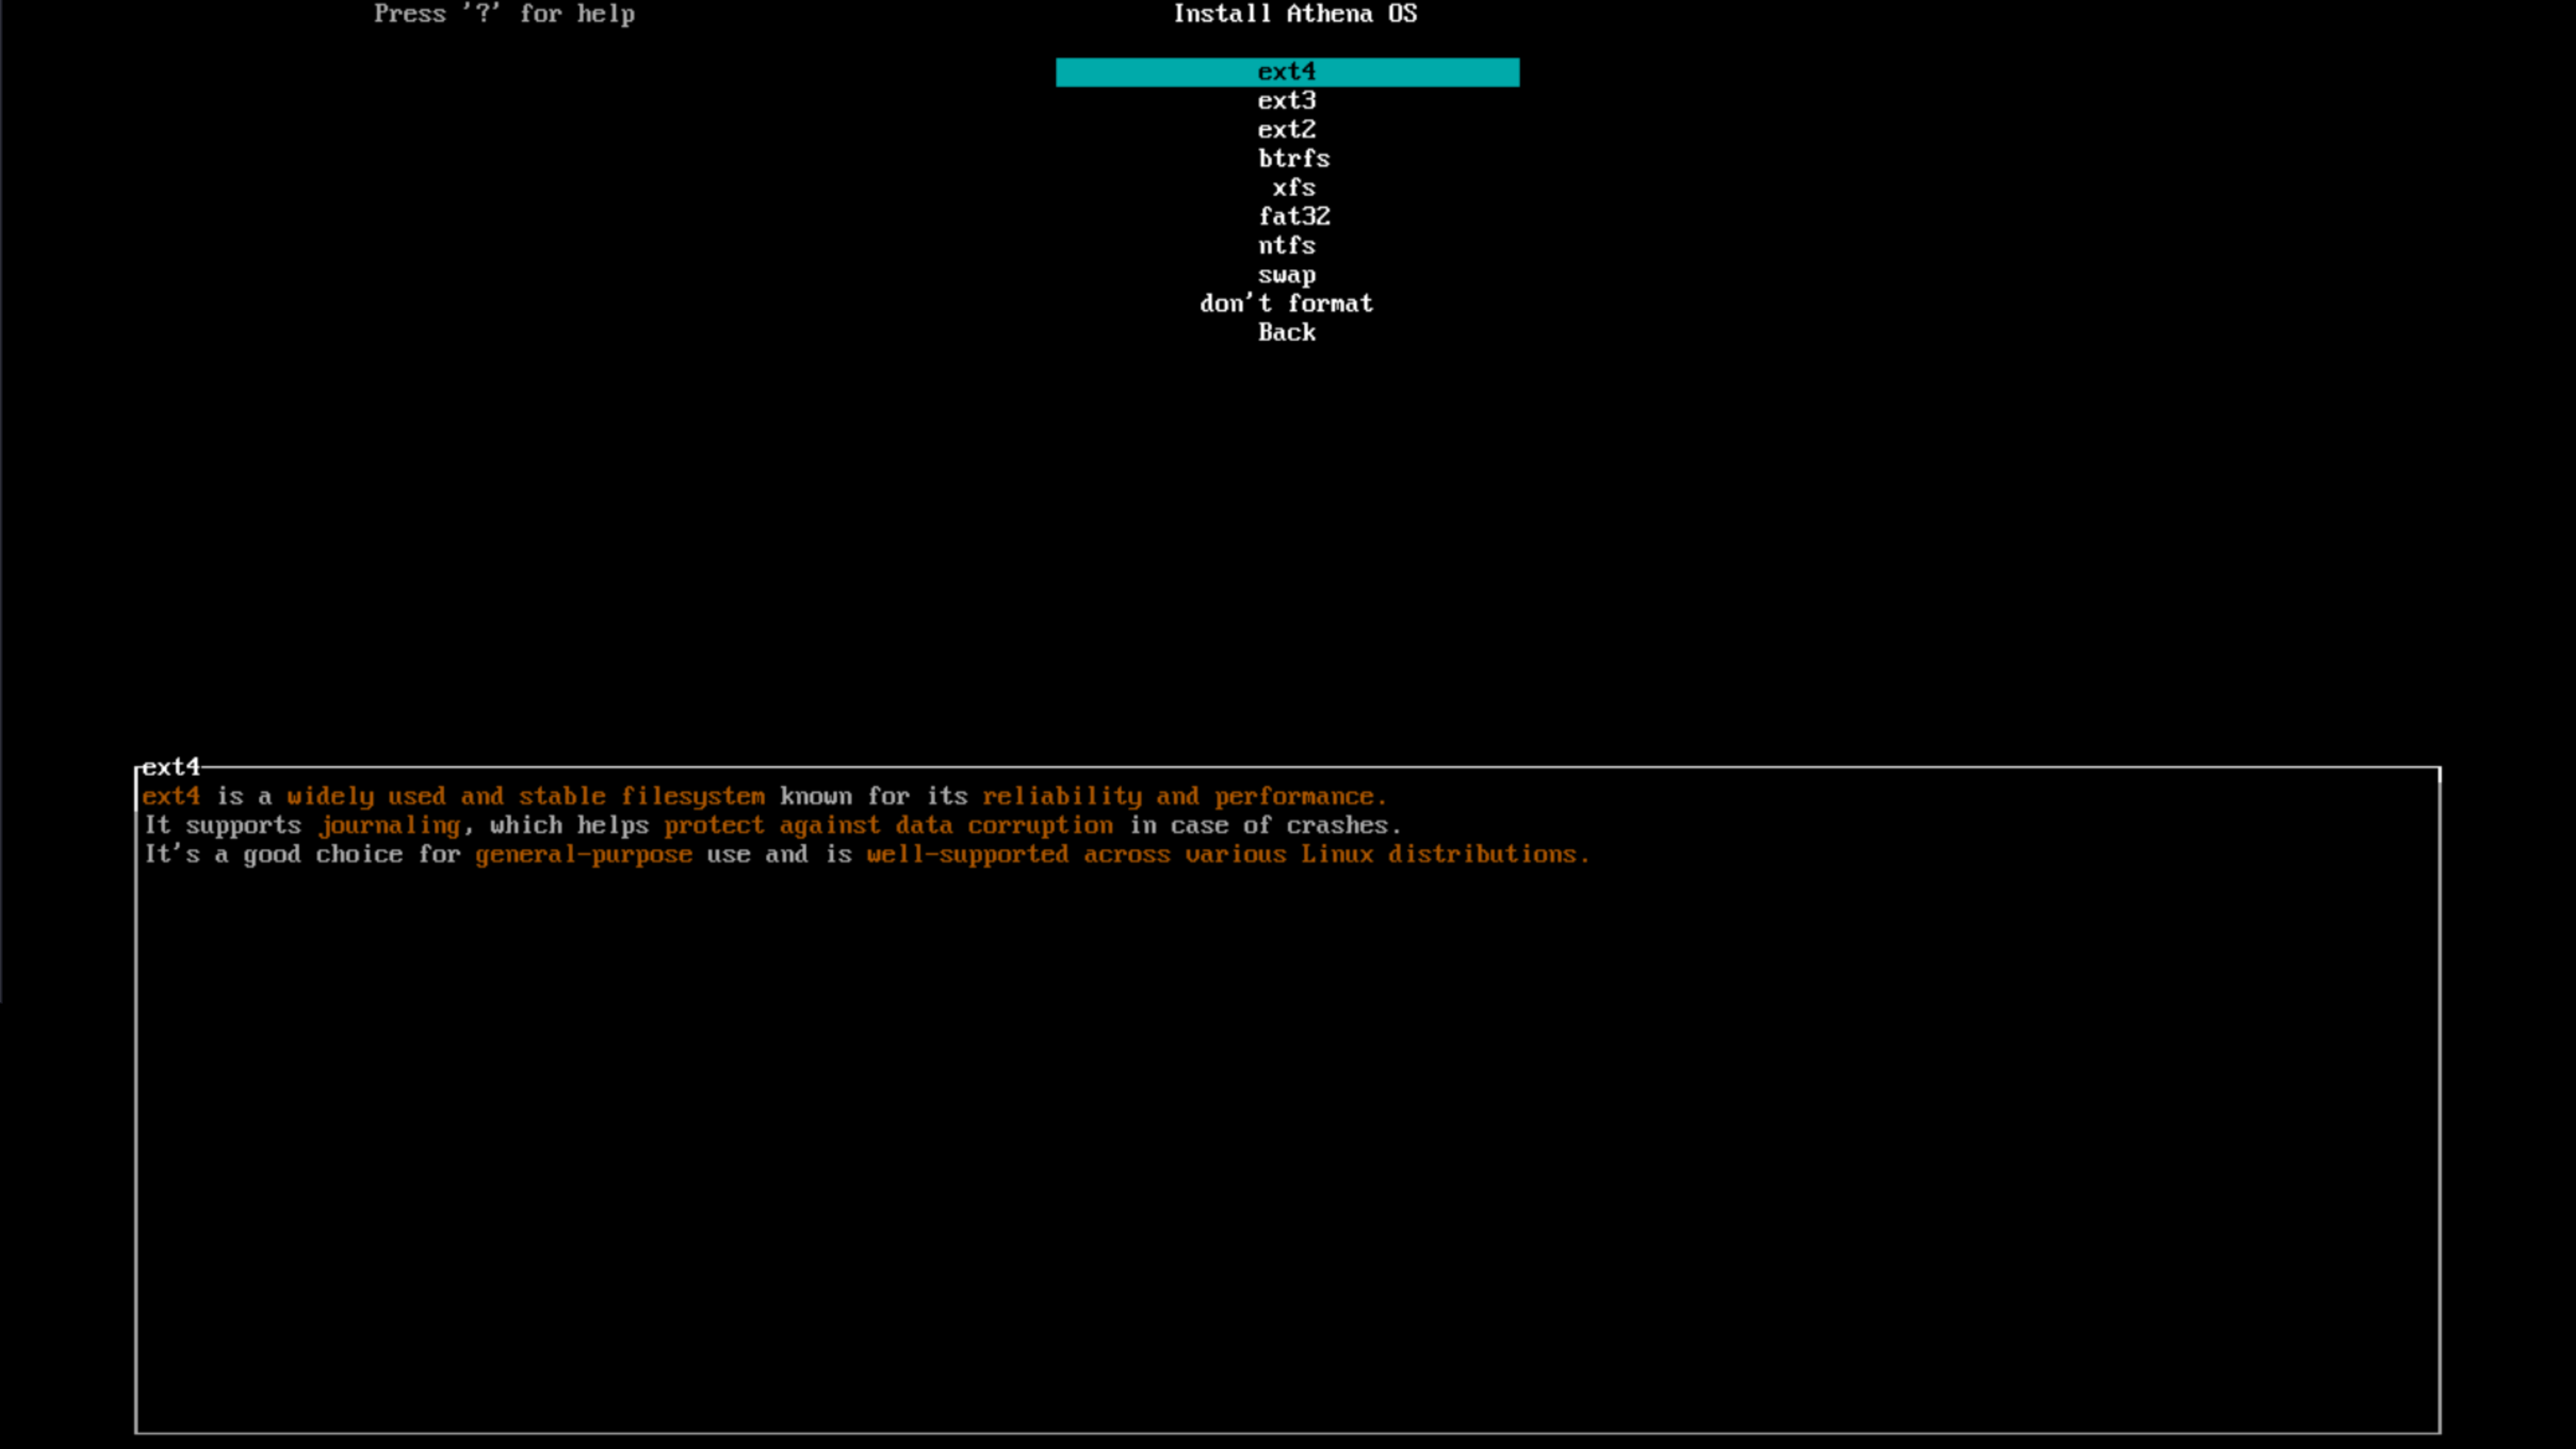
Next, you must choose the filesystem for your root partition where Athena OS will be installed.
Finally, you can choose to encrypt your root partition.
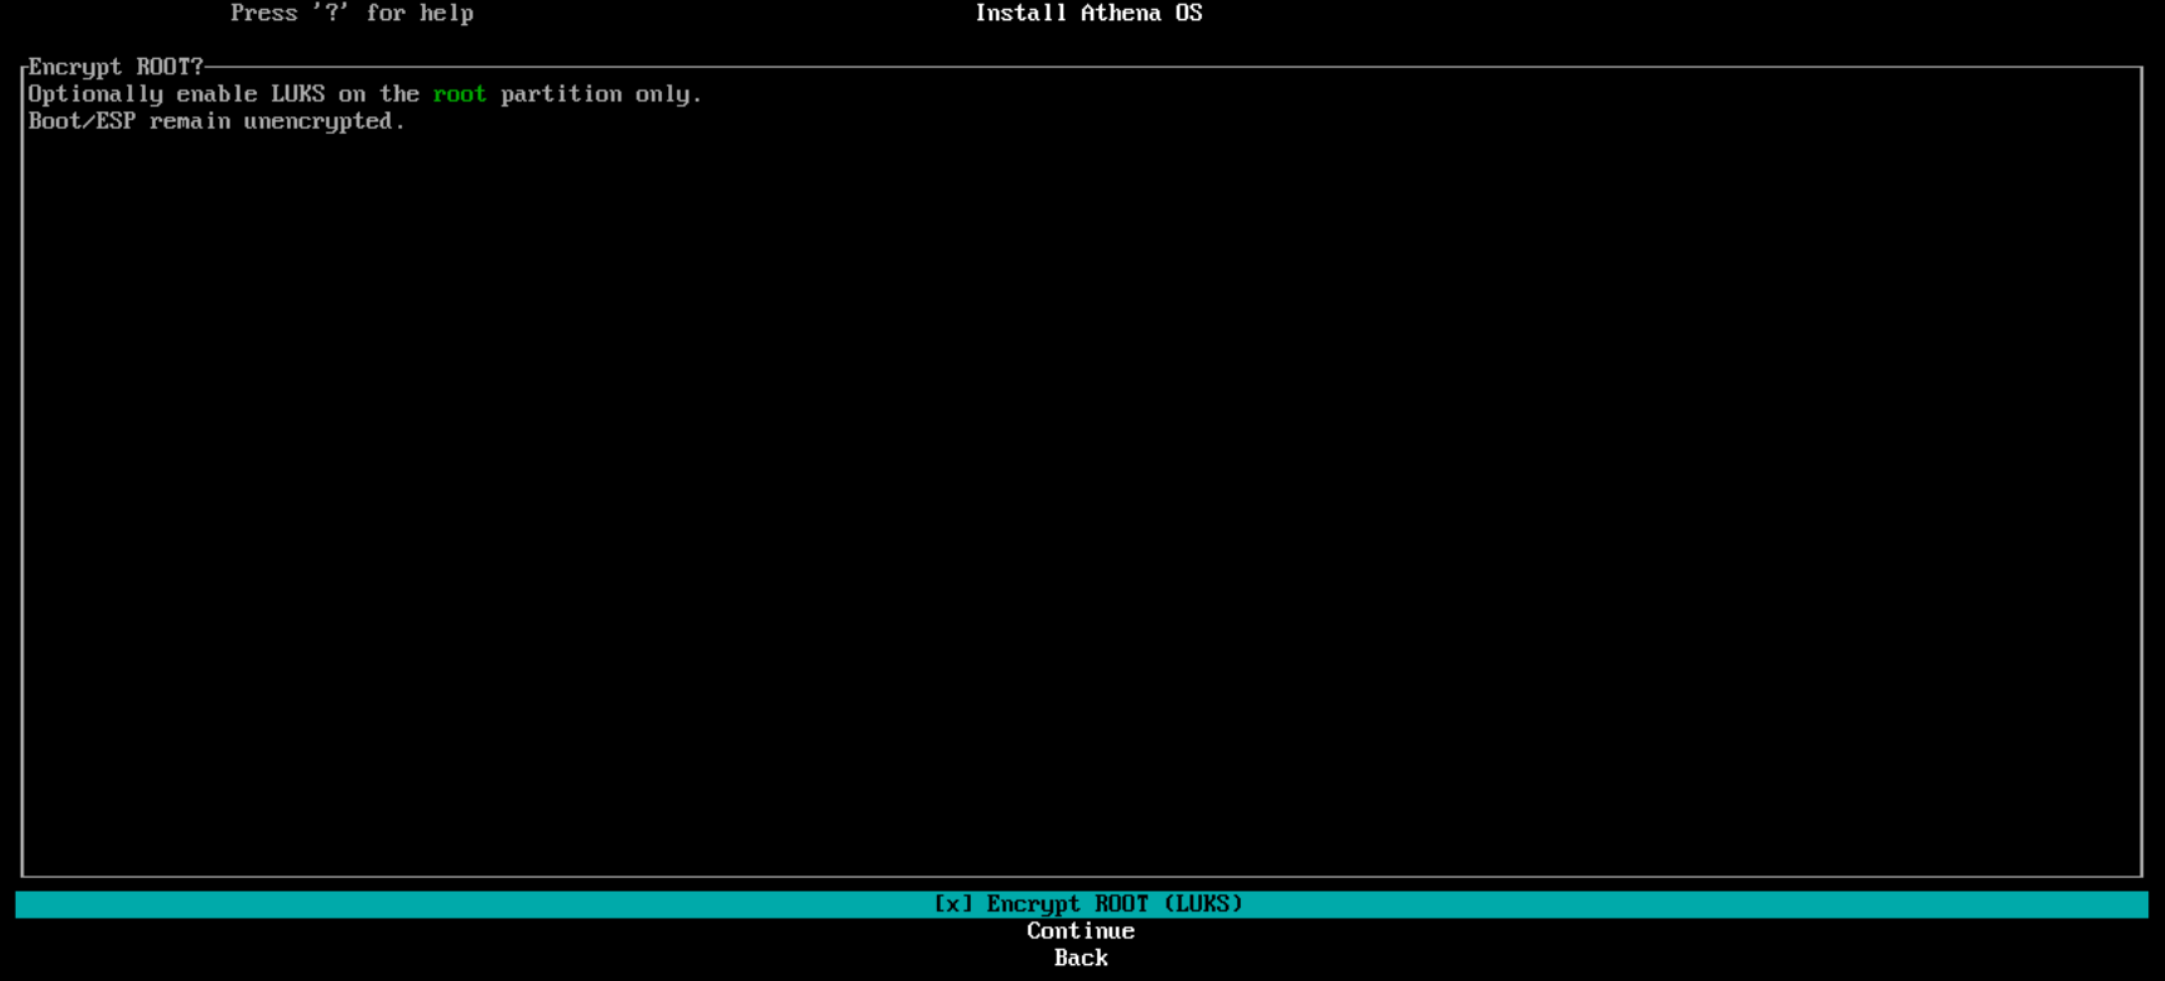
If you select Encrypt ROOT (LUKS), and press Continue, insert your LUKS passphrase.

Once confirmed, it will automatically propose a partitioning layout for you.
Configure partitions manually
Section titled “Configure partitions manually”By clicking on this mode, you are asked to select among the available disks or devices.
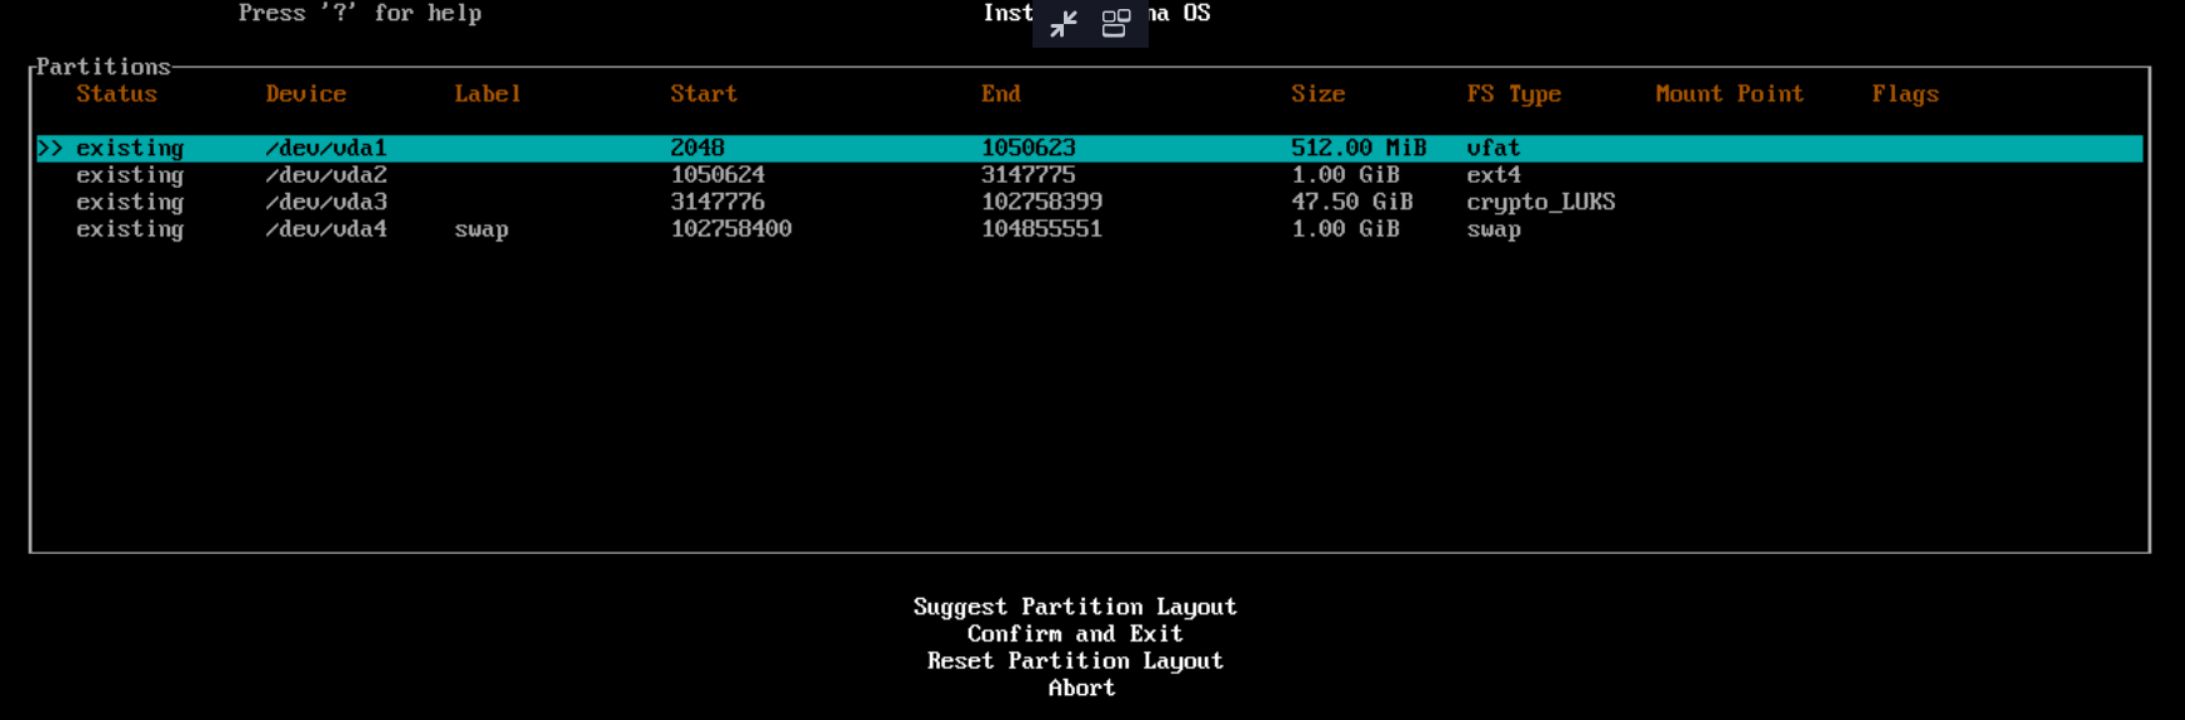
Once you select one, you get the list of the current partition of the disk.
Create boot partition
Section titled “Create boot partition”You can mainly create a partition by an available free space or by deleting a specific partition and use the derived free space, or by replacing an existing partition.
Create from free space
In case you need to create a new EFI partition, and no free space is already available, select an existing partition to be deleted, and select Delete Partition. It will create a new free entry and press “Enter”.
It will ask for size. Type 512MiB.
If you are dual booting with a Windows or another Linux system, select the existing EFI partition. As filesystem select don’t format, as mount point select /efi and, if asked, as flags select Mark as bootable partition (boot flag) and Mark as ESP partition (esp flag).
If you need to create a new EFI partition or overwrite the existing one, as filesystem, select fat32 and as mount point, type /efi.
Finally, don’t select Encryption (LUKS) and press on Continue.
Create by replacing an existing partition
From the partition list, select an existing partition you want to replace and use all its space for your boot partition. Note that the partition must be 512MiB, don’t waste further space by replacing bigger partitions.
Select the interested partition.
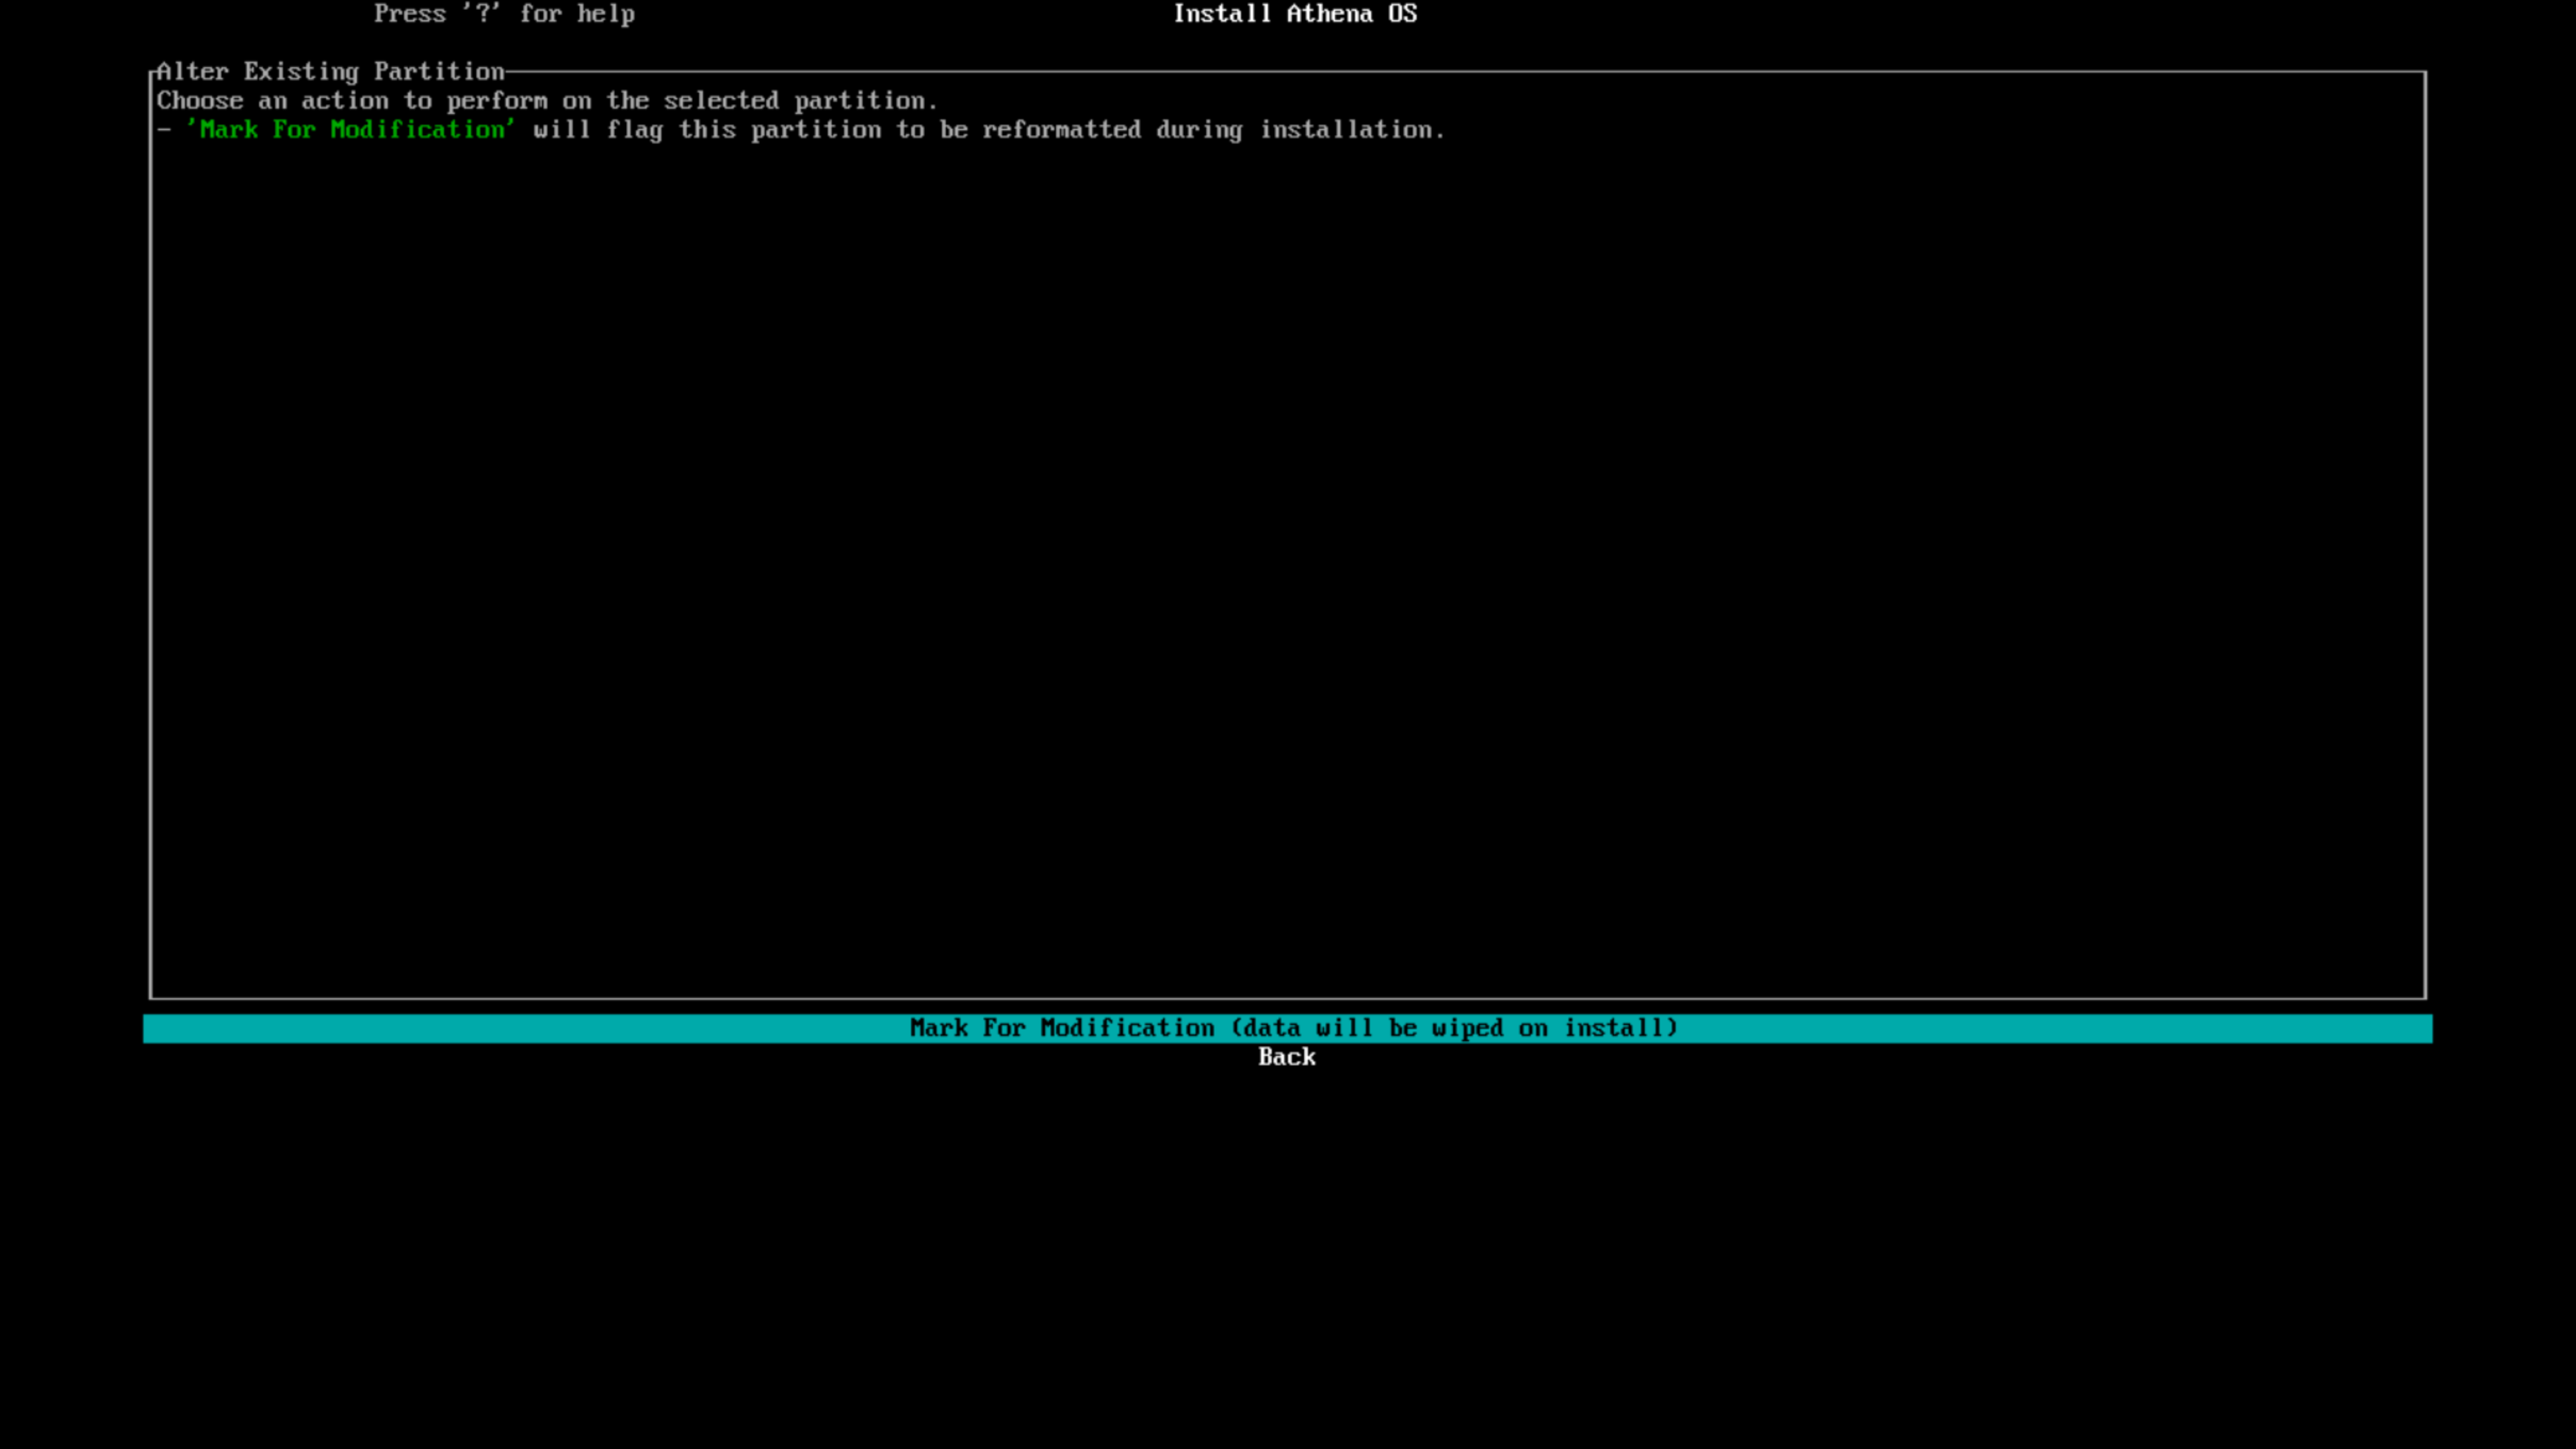
Press on Mark For Modification entry.
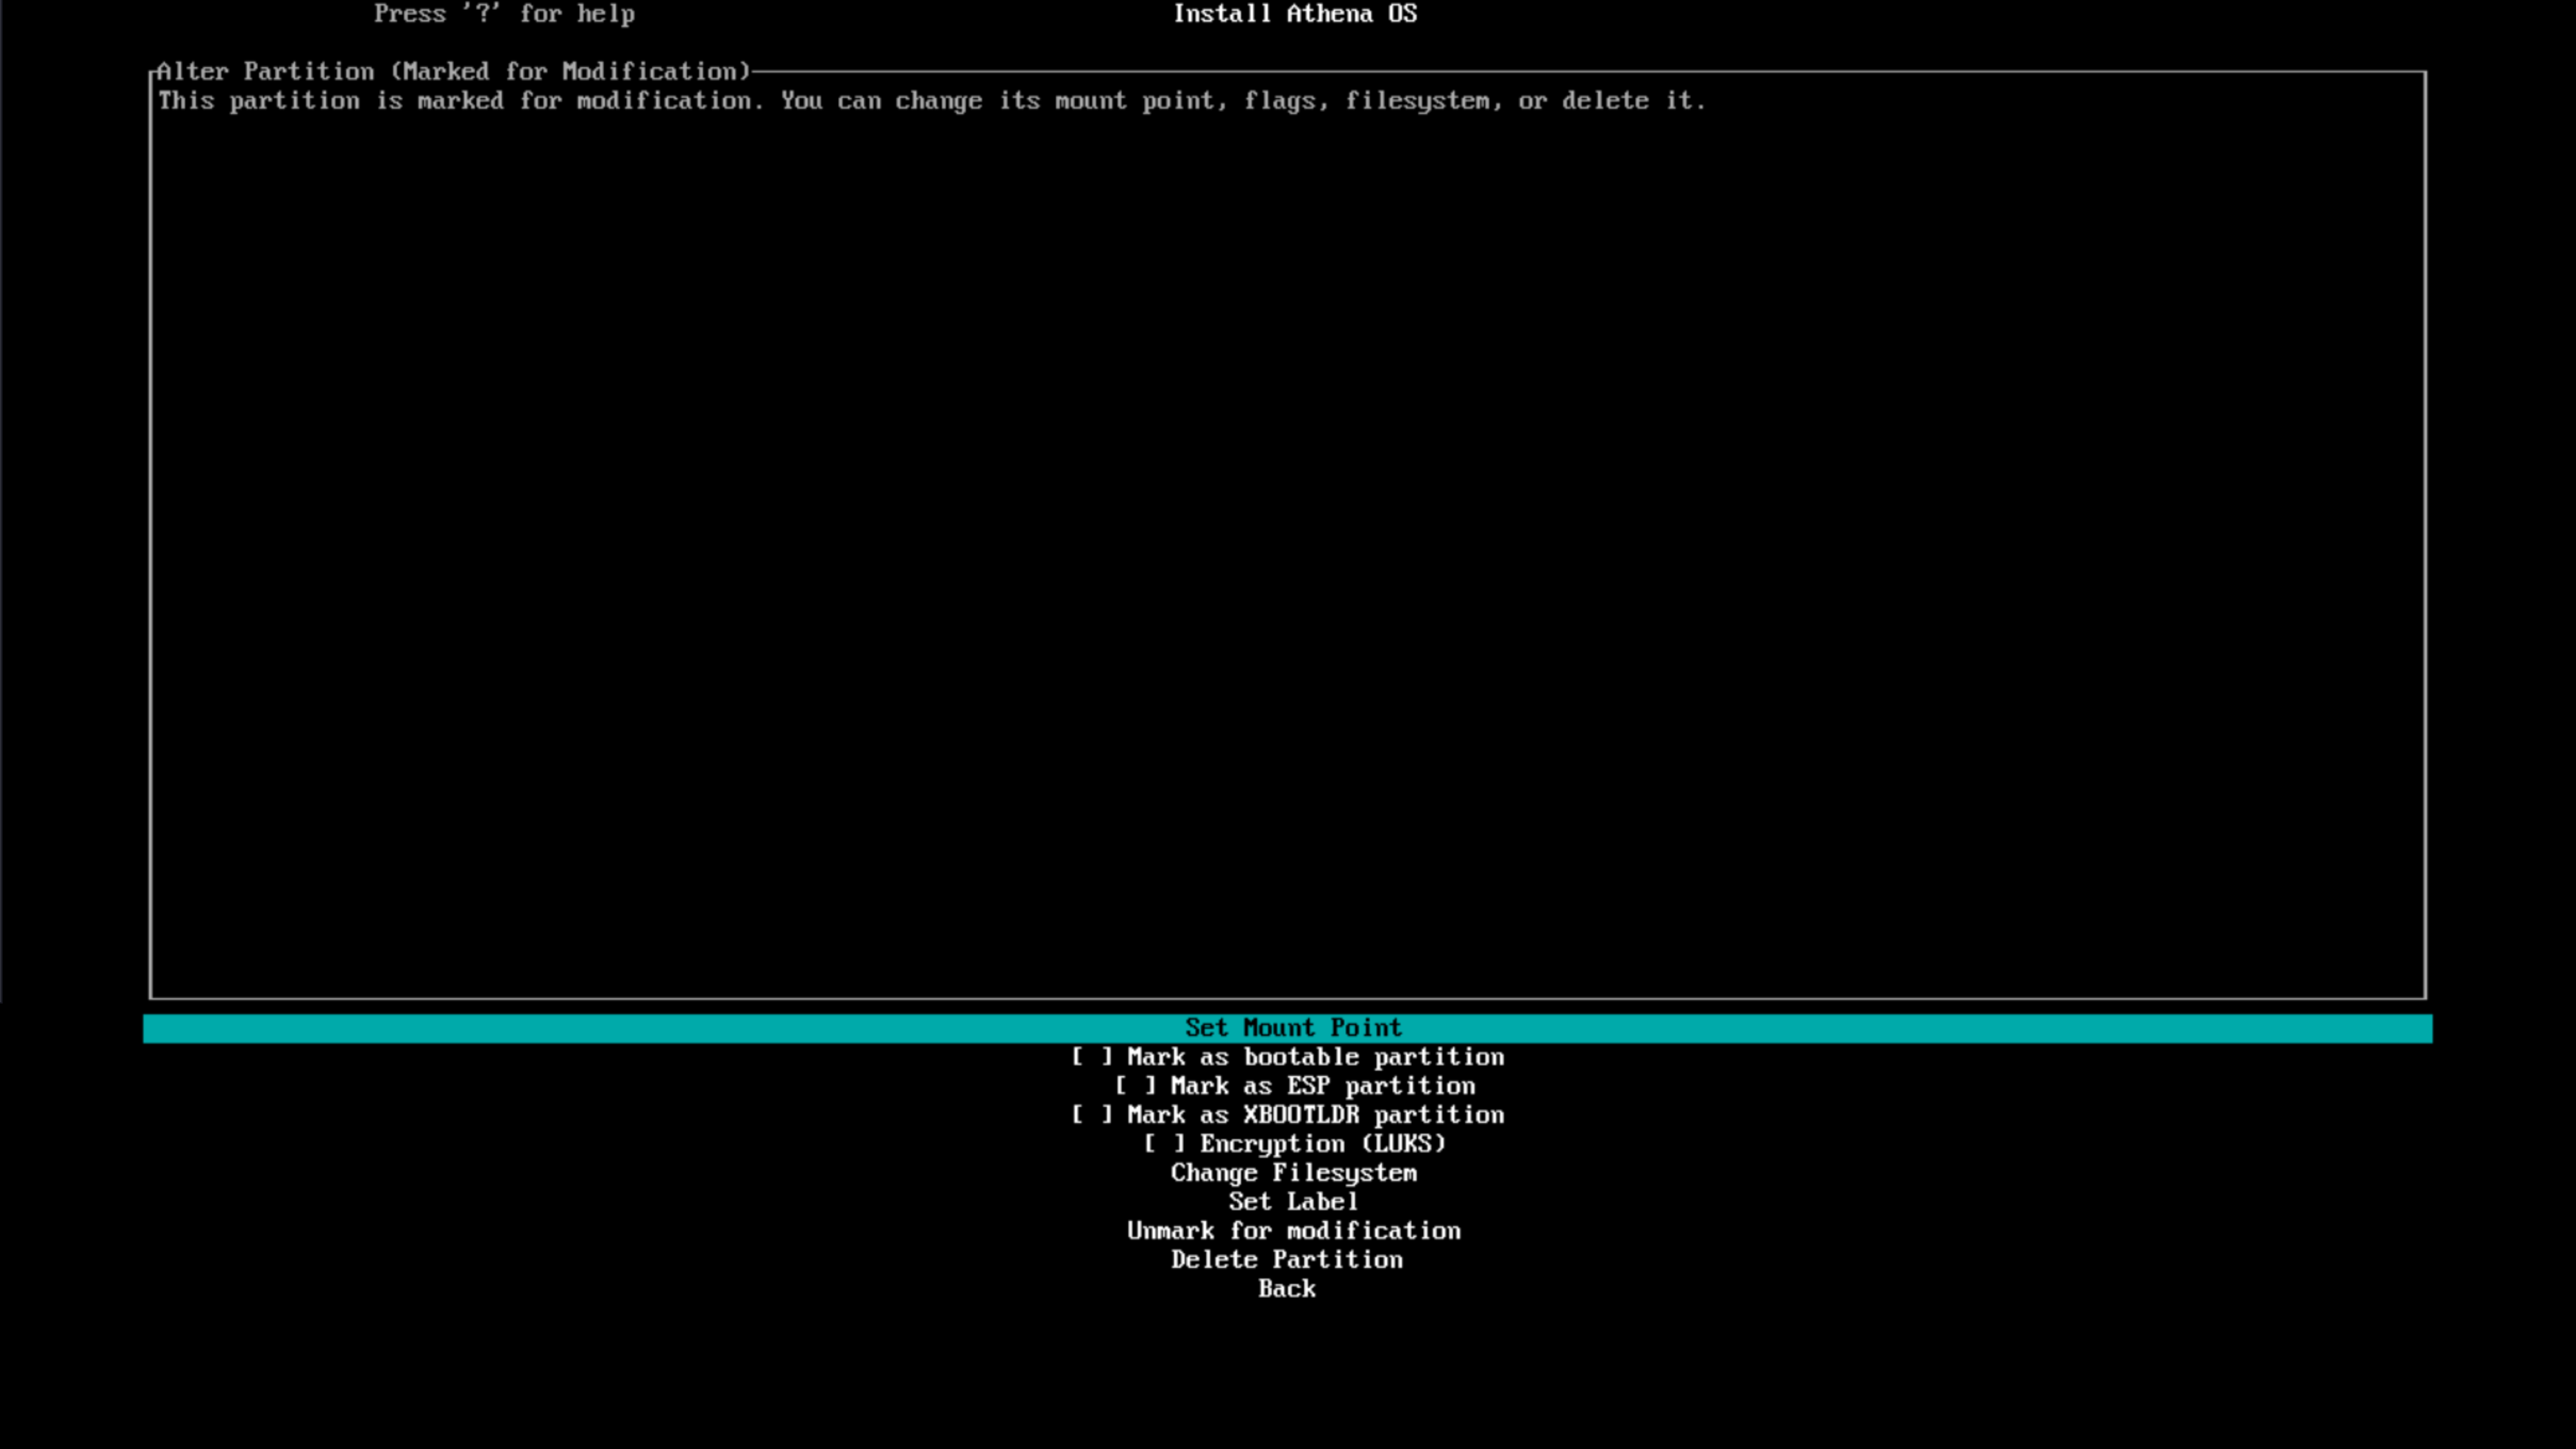
Enter on Set Mount Point and type /efi. Successively, check on Mark as bootable partition and Mark as ESP partition flags. In this manner the installer will be aware you are creating an EFI boot partition.
Click on Change Filesystem and select fat32.
Finally, select Back.
Create root partition
Section titled “Create root partition”Create from free space
In case no free space is already available, select an existing partition to be deleted or more contiguous of them, and select Delete Partition. It will create a new free entry and press “Enter”.
It will ask for size. Type any value you wish. If you need to use all the space, you can insert 100%.
As filesystem, select any value you wish.
As mount point, type /. Finally, evaluate if encrypt the root partition by checking on Encryption (LUKS) or not. At the end, press on Continue.
Create by replacing an existing partition
From the partition list, select an existing partition you want to replace and use all its space for your root partition.
Select the interested partition.
Press on Mark For Modification entry.
Enter on Set Mount Point and type /. If you want to encrypt the root partition, check on Encryption (LUKS) flag.
Click on Change Filesystem and select any value you wish.
Finally, select Back.
Create swap partition
Section titled “Create swap partition”Creating a partition would be useful only on low-memory systems (less than 4GB of RAM).
If you want to create a Swap Partition, you can follow one of the two approaches used for root partition above, but as filesystem select swap.
Last steps
Section titled “Last steps”Once all partitions have been configured, just press on Confirm and Exit.
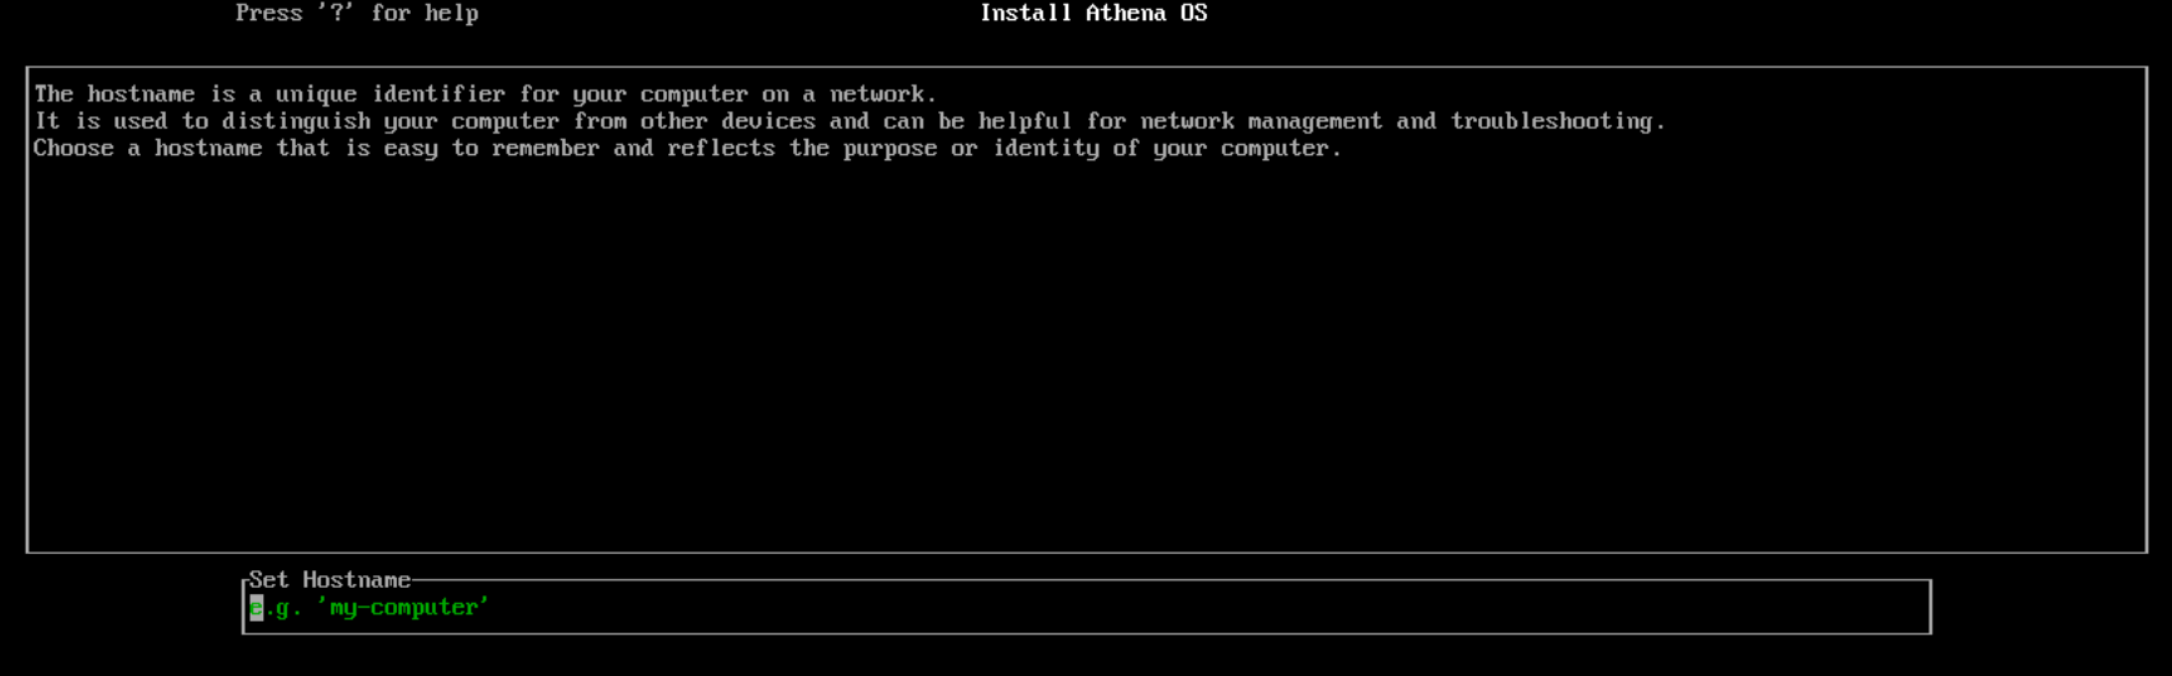
Hostname
Section titled “Hostname”Set the hostname
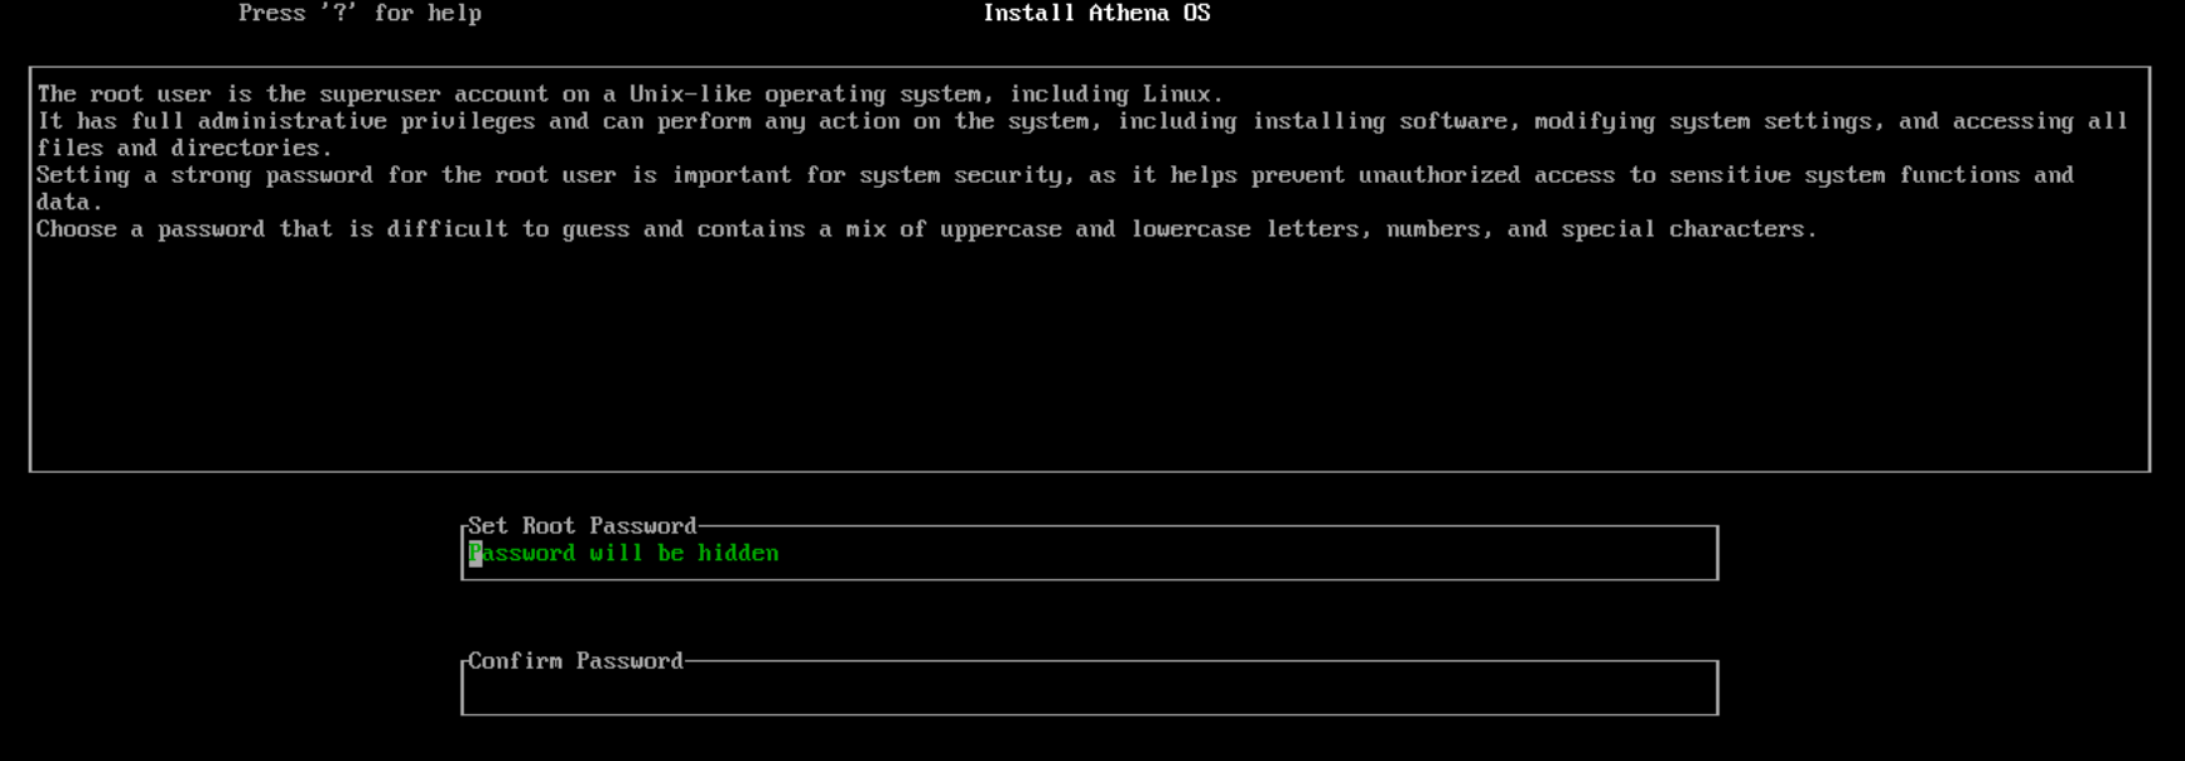
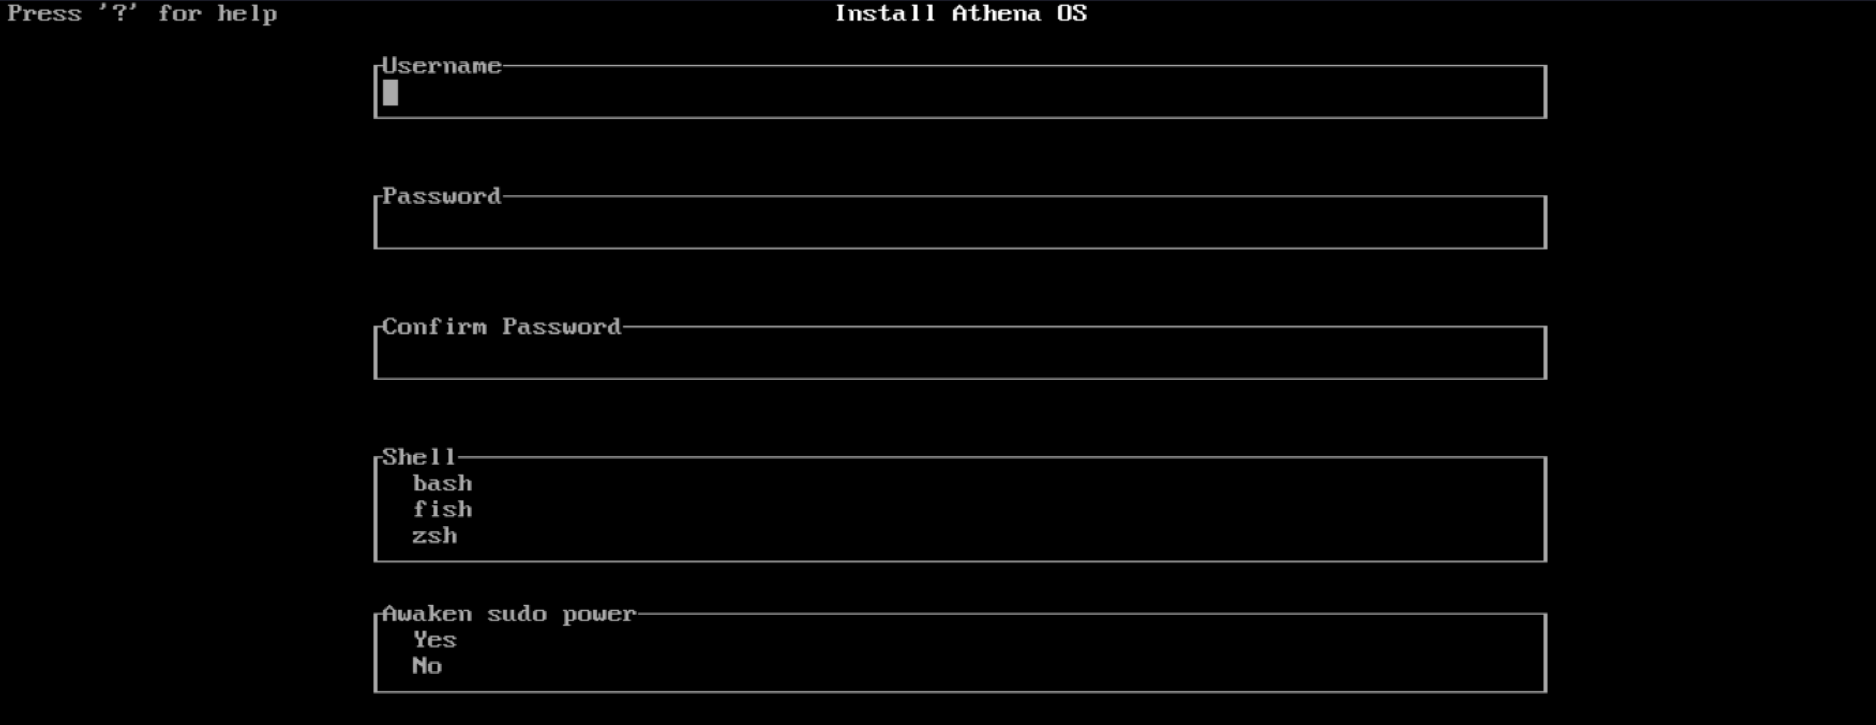
Root password
Section titled “Root password”Set the password for root account
Set your user account
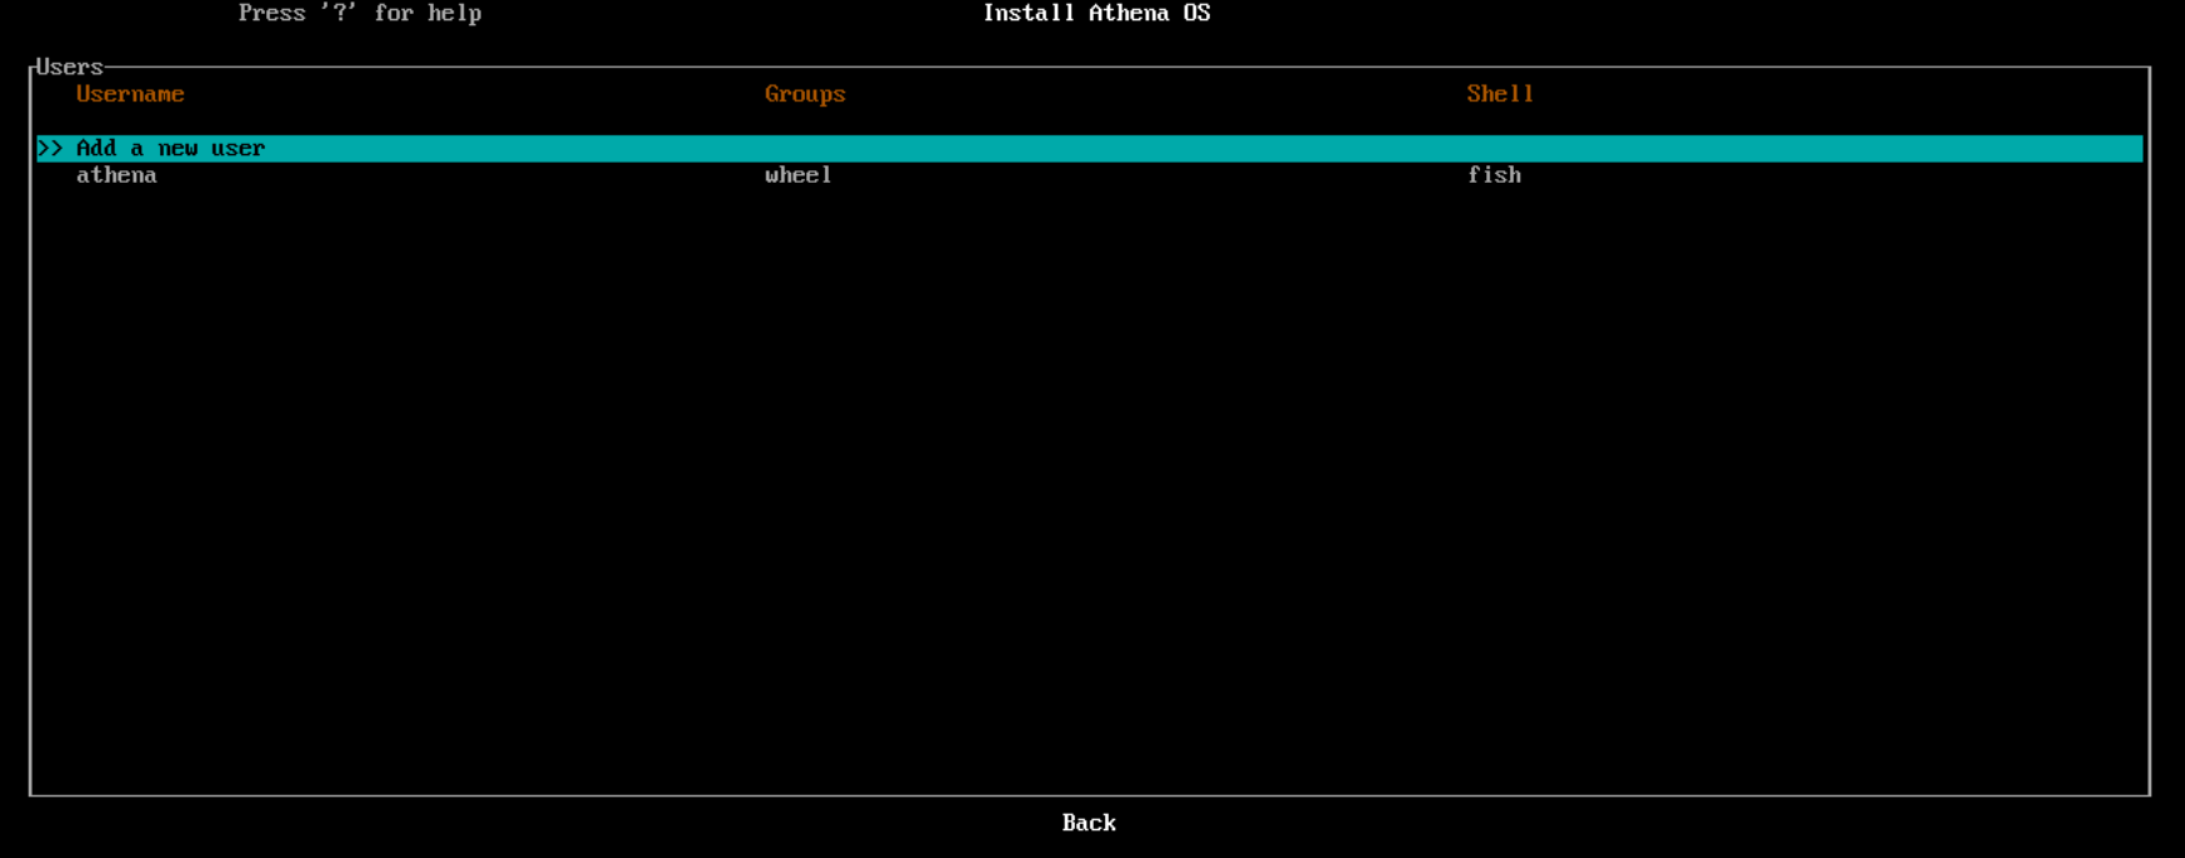
By pressing on Add a new user you can setup your account.
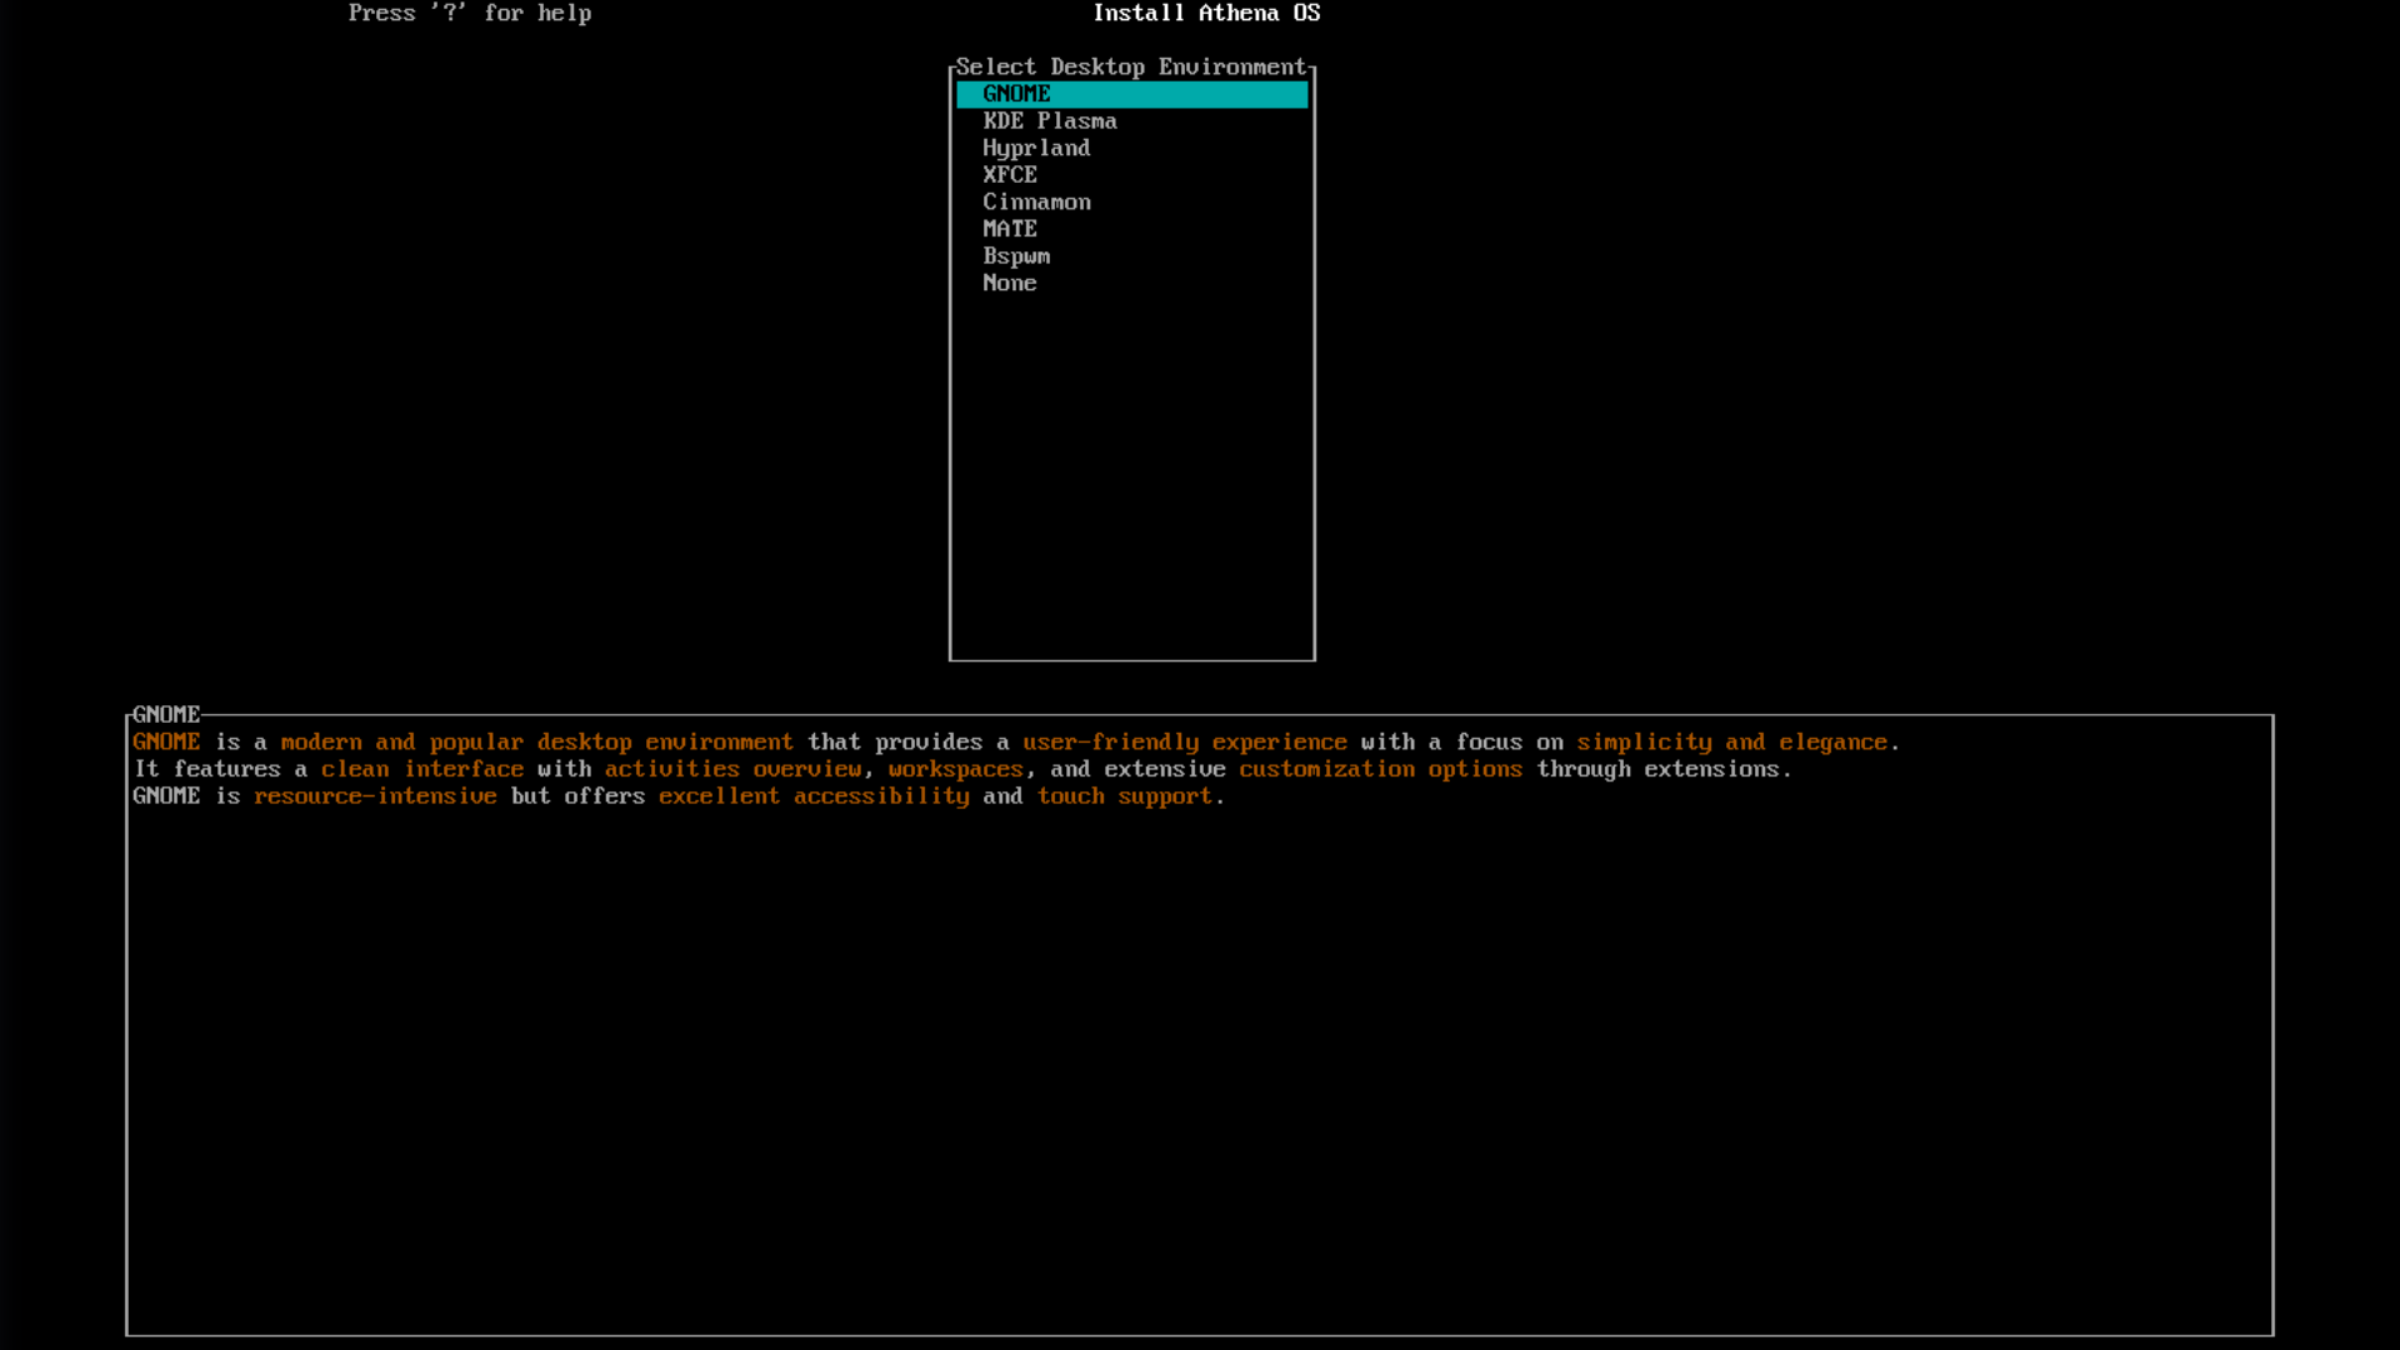
Desktop
Section titled “Desktop”Select your favourite environment
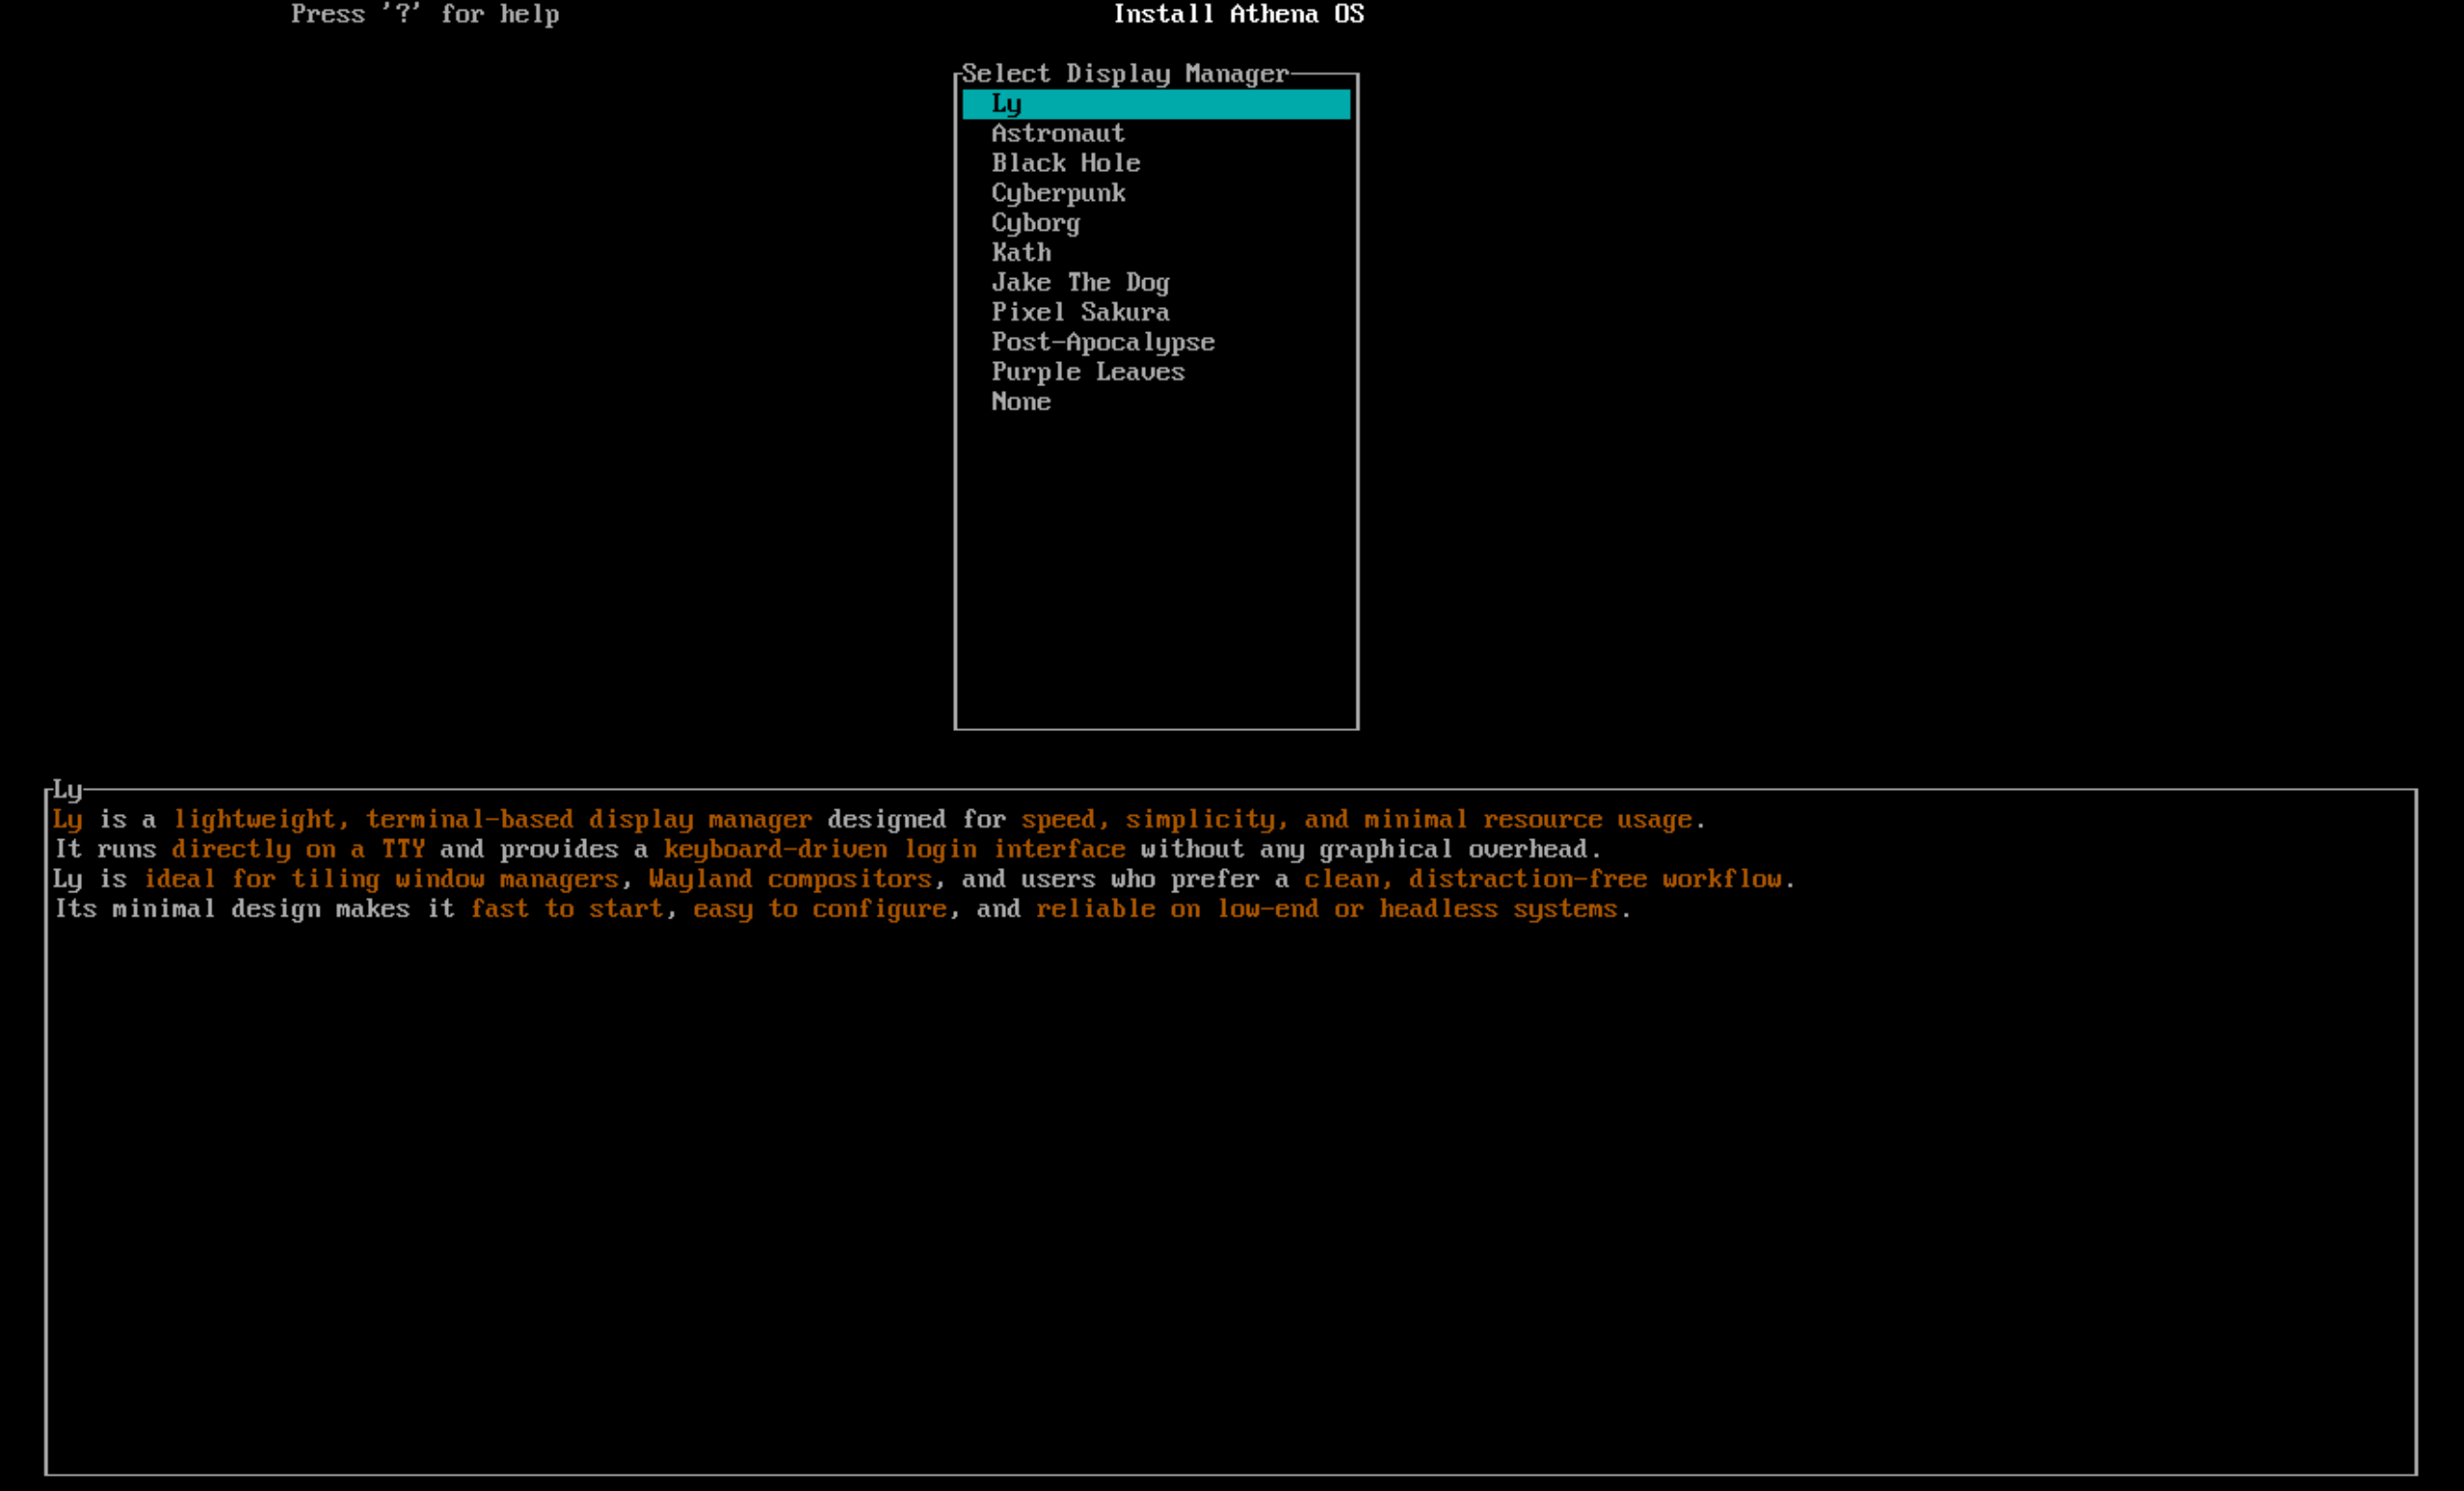
Login Manager
Section titled “Login Manager”The display manager will be SDDM. Select your favourite theme for login.
Design
Section titled “Design”Select your favourite design
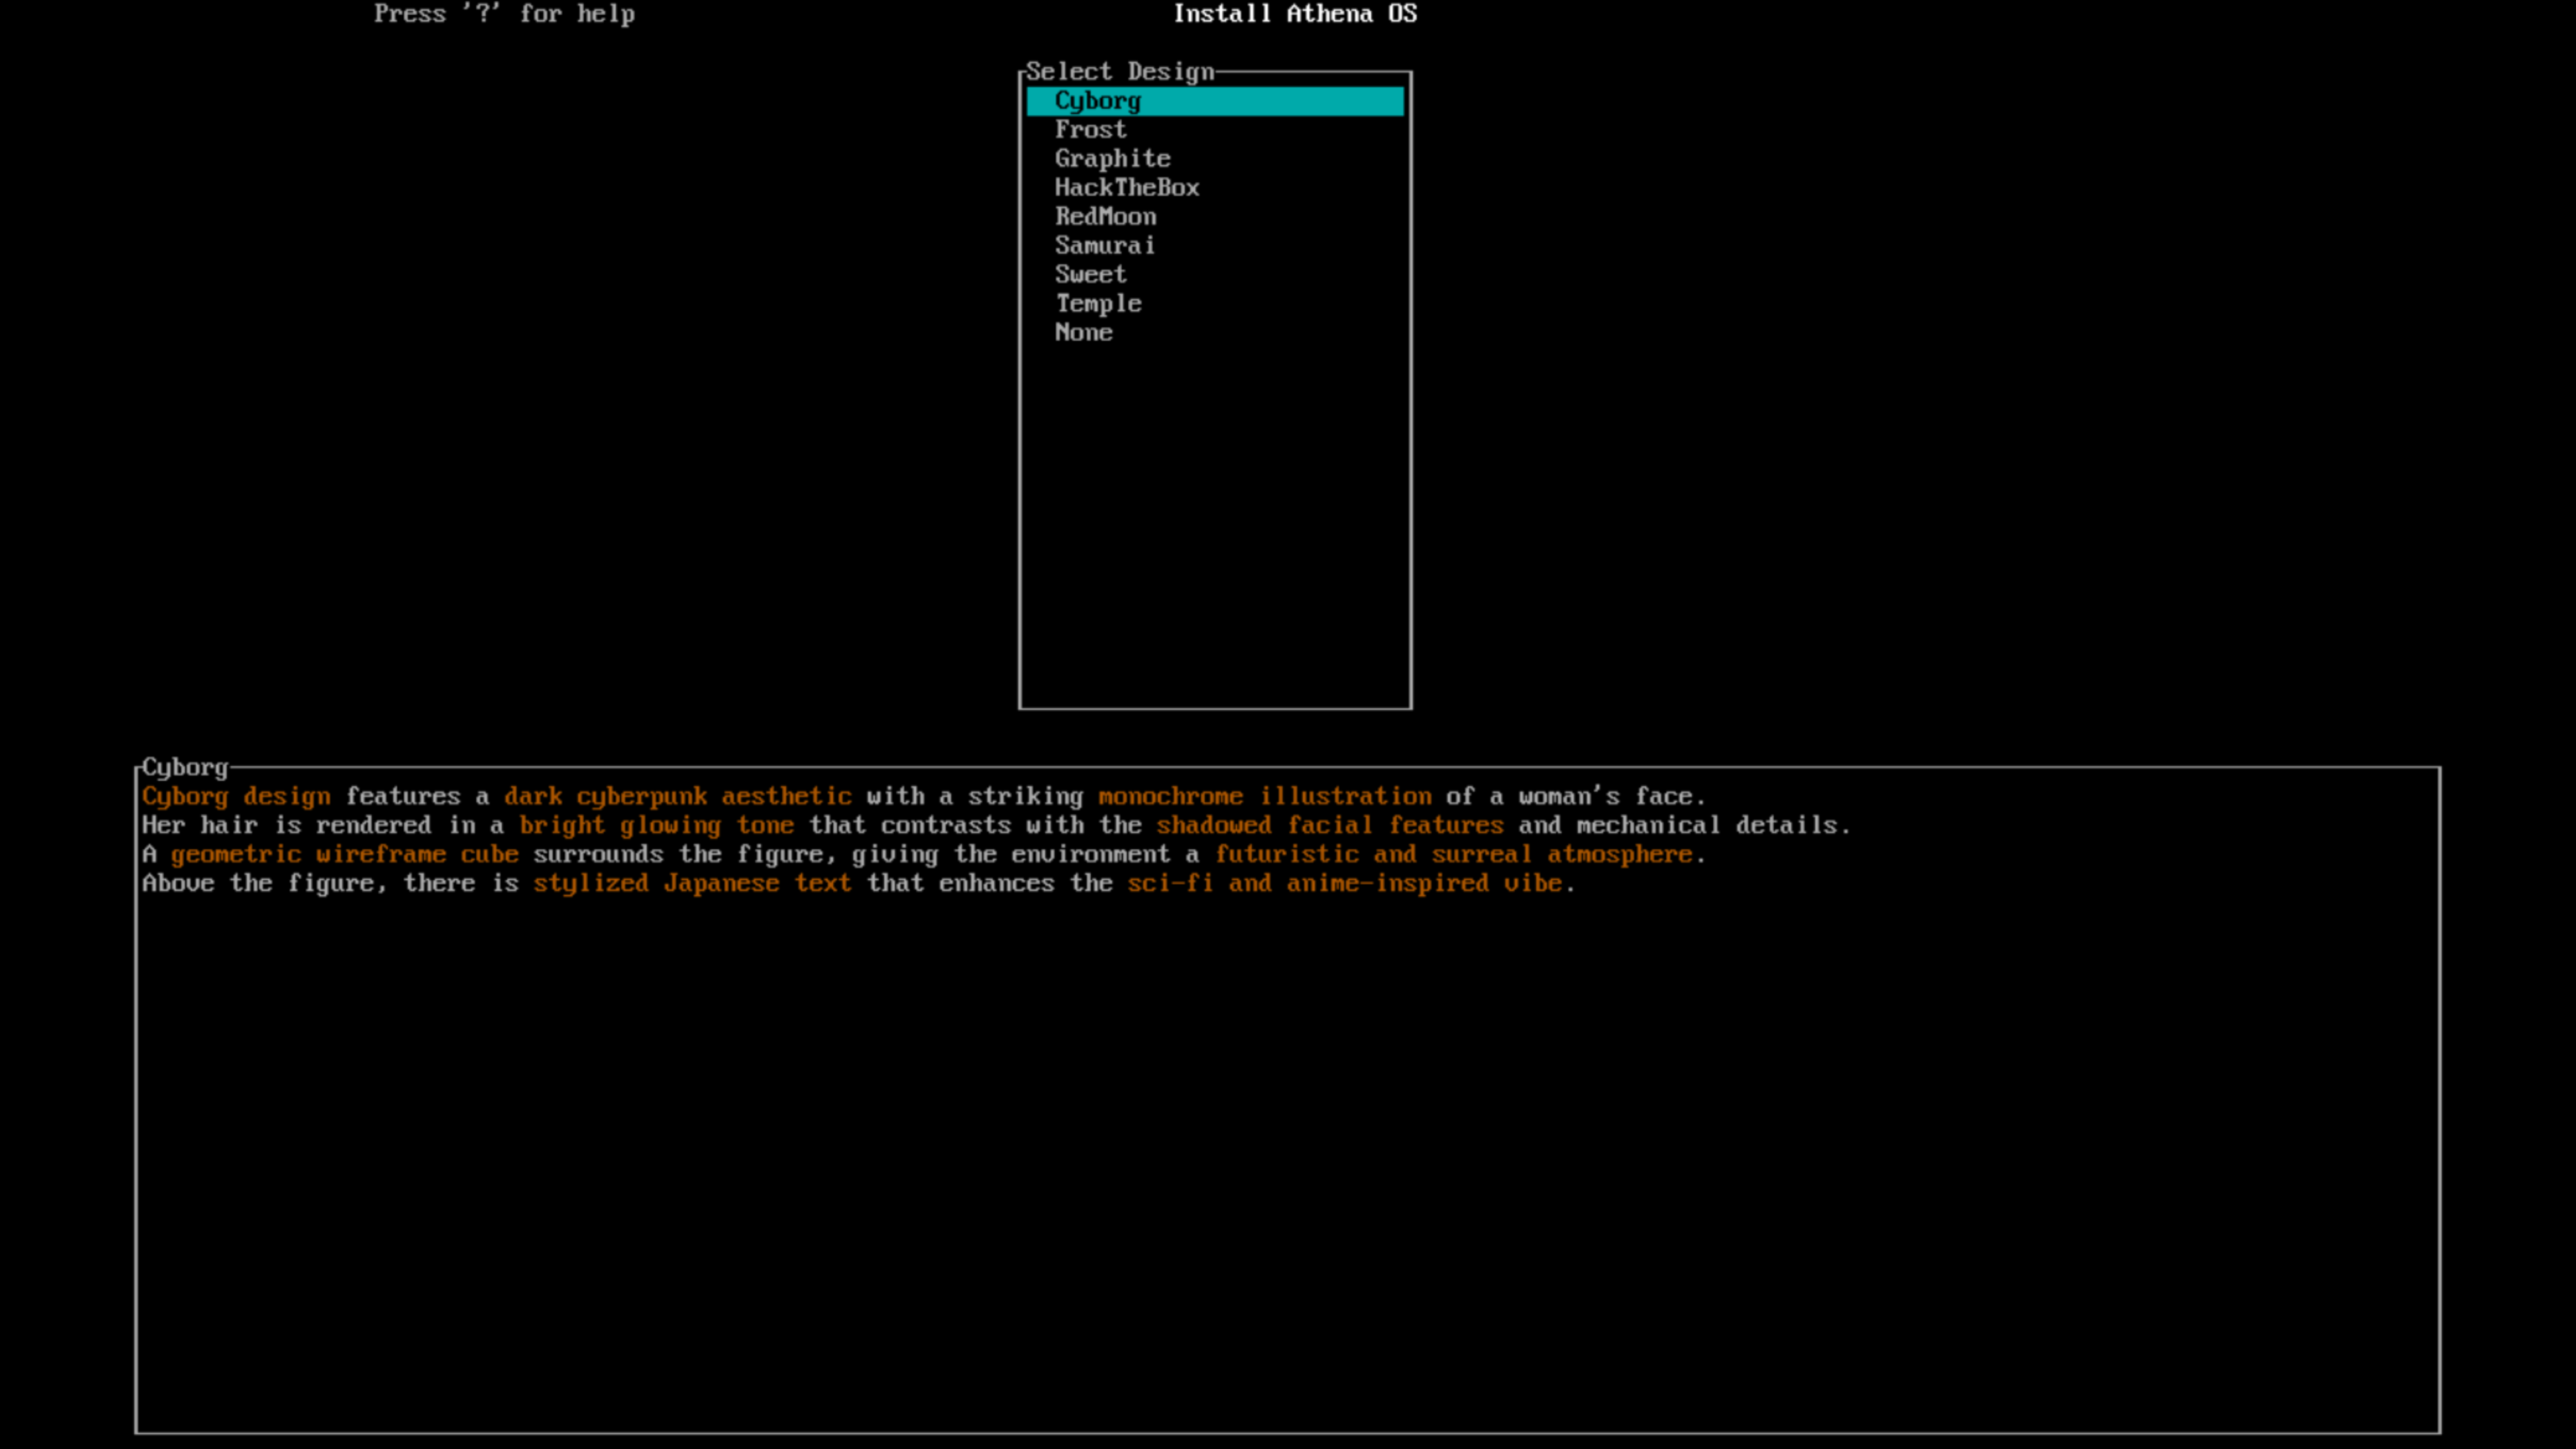
Choose your favourite one, check out here.
Installation
Section titled “Installation”Press on Done and review your JSON configuration.
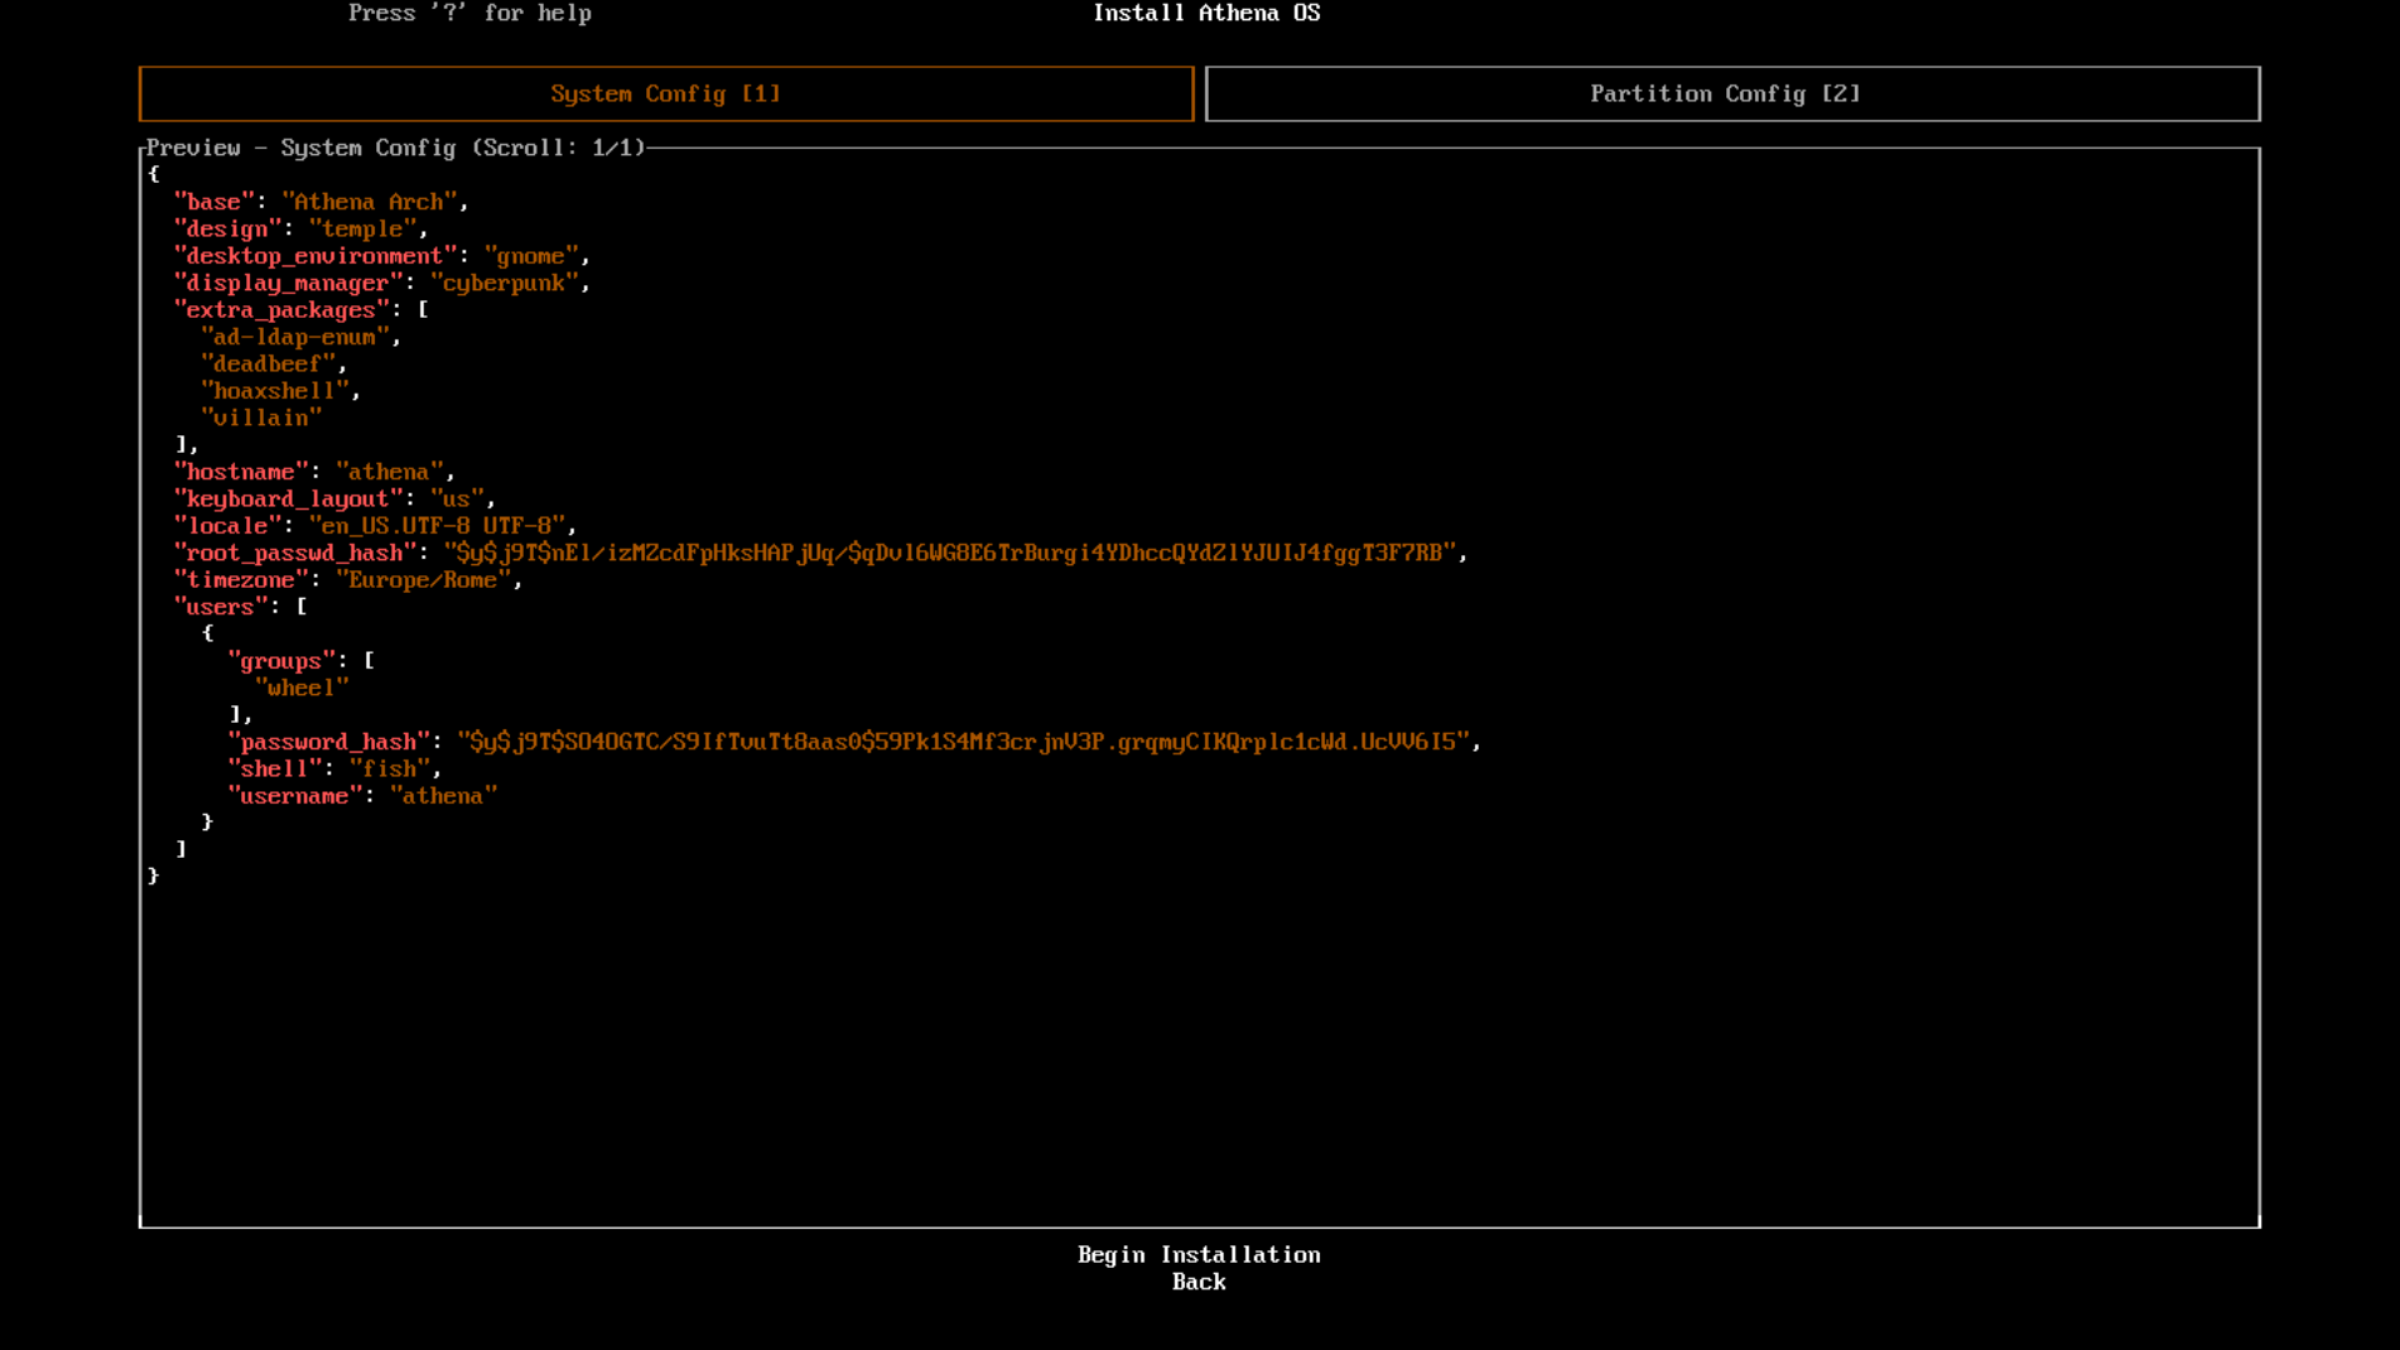
Finally, if you are ready to install, proceed on Begin Installation.
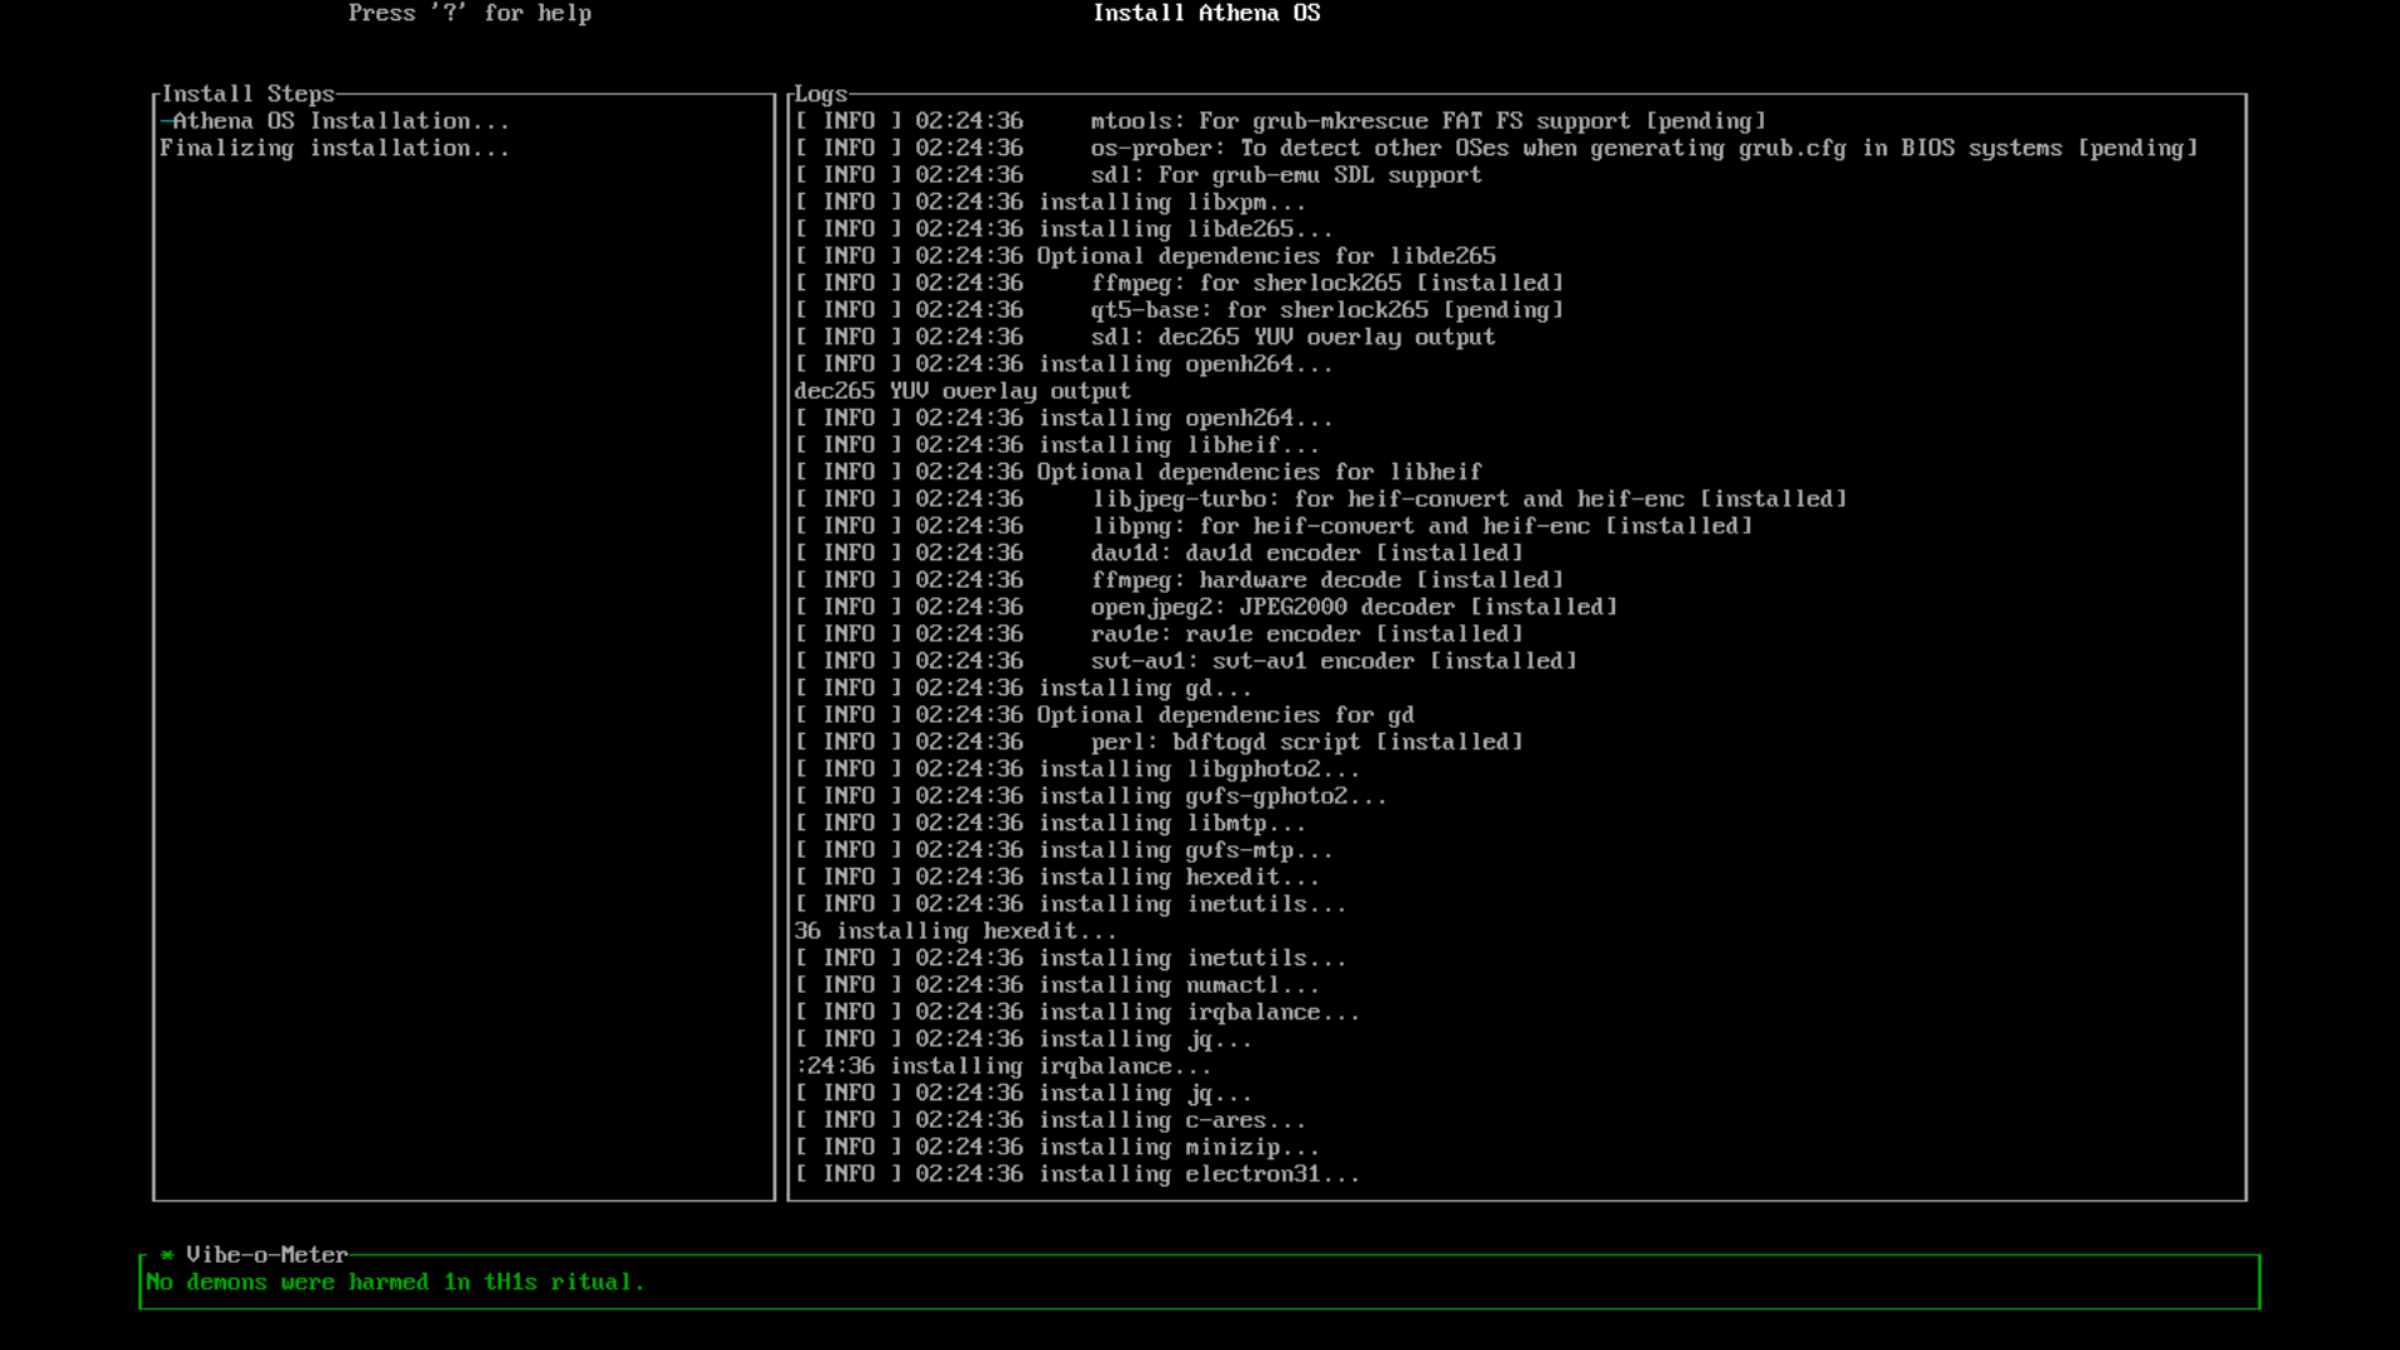
During the installation, installation logs are saved in /tmp/aegis.log.
If the installation fails, you can generate a link with install logs that can be used for troubleshooting.


Communicate the link to Athena OS Team for getting support.
If no errors have been raised during the installation phase, you are ready to use Athena OS!
Before rebooting, if you installed Athena OS in dual boot with Windows, as explained in the related section, and you formatted the boot partition intended for Windows, restore Microsoft bootloader inside the boot partition (i.e., /dev/nvme0n1p1):
sudo mount /dev/nvme0n1p1 /mntsudo cp -rf ~/Microsoft /mnt/EFI/sudo umount /mntOnce you reboot, and you land on the installed system, if systemd- boot is not able to detect Windows, you must manually add it inside the systemd-boot configuration file.
For Athena Arch installation on UEFI, if you would like to enable Secure Boot, it is needed to enroll the proper certificate. The process is described in Secure Boot documentation.
For Athena Nix installation, once reboot and land on the installed system, initialize Nix Channels by opening the terminal and running:
sudo nix-channel --update