Calamares Installer
Calamares is an installer customizable framework with the purpose to satisfy a wide variety of needs and use cases. Calamares aims to be easy and usable while remaining independent of any Linux distribution. For these reasons, it has been chosen as installation framework in Athena.
Calamares has been configured with several modules invoked inside /etc/calamares/settings.conf at the installation time.
Calamares has been adapted to Athena OS in order to detect automatically your hardware. It means that the installer is able to detect your environment (baremetal or virtualized), your CPU and your GPU. According to this information, all the needed drivers are automatically installed with no any actions by your side.
Specifically, it will automatically install:
- Guest Additions / Tools for your virtualized environmment
- Your CPU ucode package
- Your GPU drivers
Calamares is run by interacting on Athena Welcome through Easy Installation (Offline) and Advanced Installation (Online) buttons. The former does not require an Internet connection but it installs all default elements in Athena; the latter requires an Internet connection but you can customize your final environment.
If you want to store installation logs in a file, run the installer by:
sudo calamares -D8 | sudo tee calamares.logAnyway, Calamares always will store the installation logs in:
/root/.cache/calamares/session.logInstallation
Section titled “Installation”In the following, for each step is specified also the availability of the installer section for Easy Installation (Offline) and/or Advanced Installation (Online) install method.
Open Athena Welcome, then click on Easy Installation (Offline) or Advanced Installation (Online) button according to your preference.
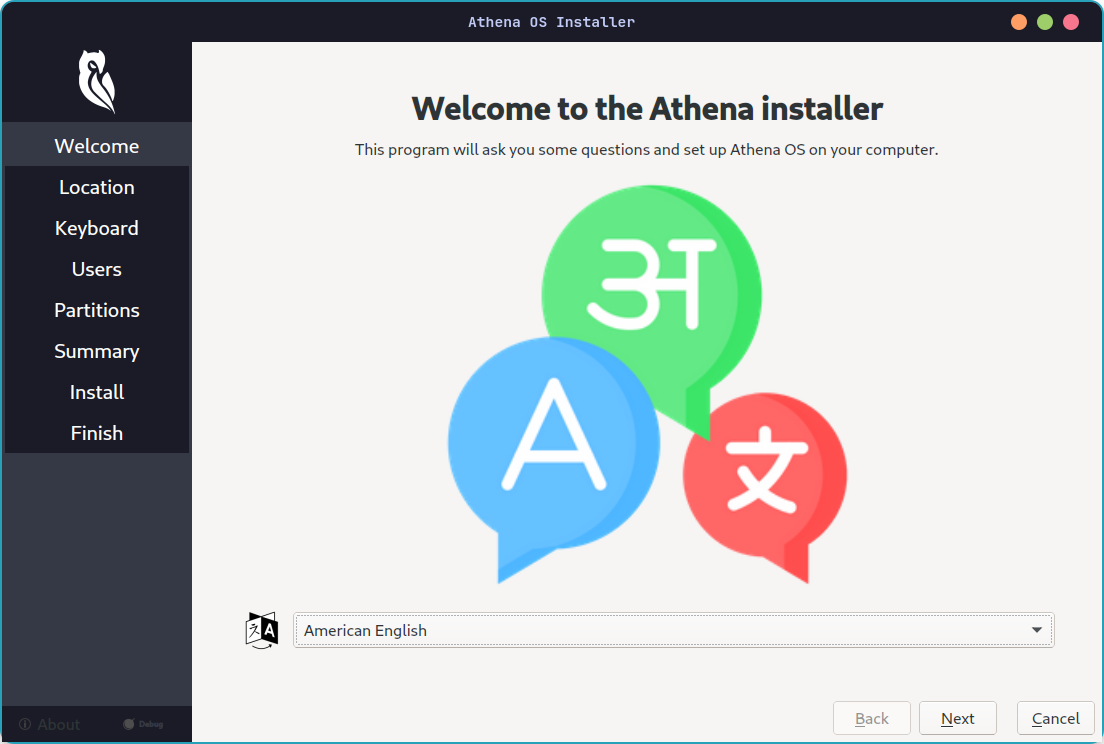
Language
Section titled “Language”Availability: Easy and Advanced Installation.
- Select the language
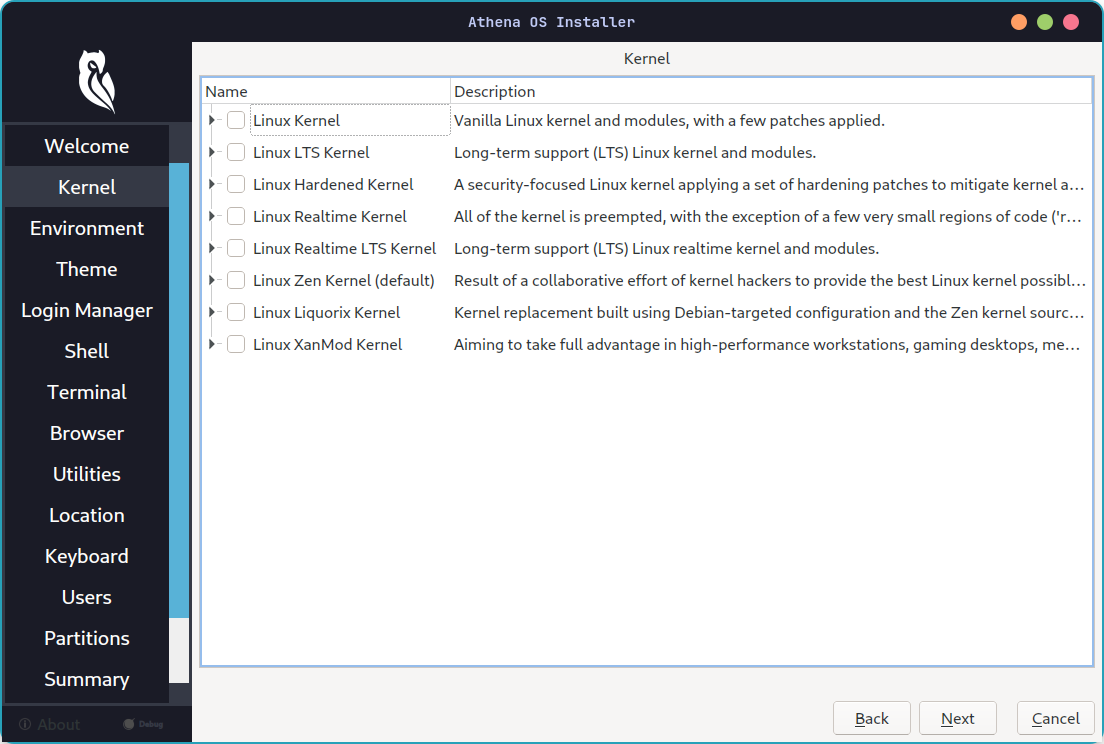
Kernel
Section titled “Kernel”Availability: Advanced Installation.
-
Select your favourite kernel
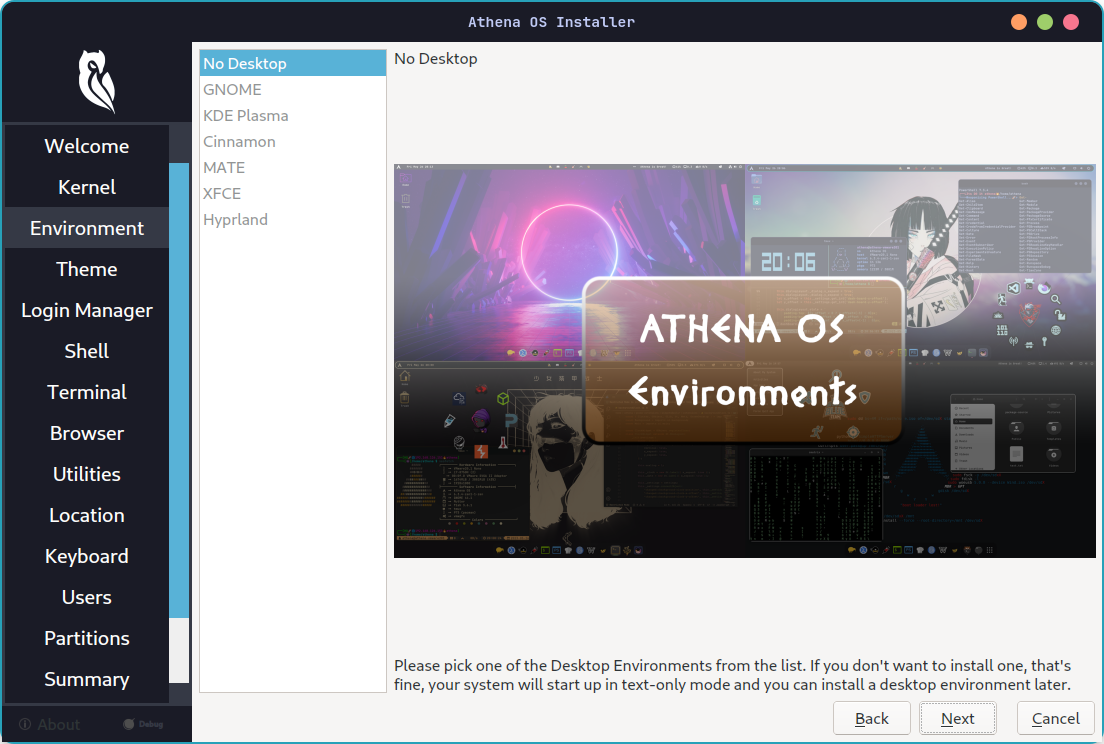
Environment
Section titled “Environment”Availability: Advanced Installation.
-
Select your favourite environment
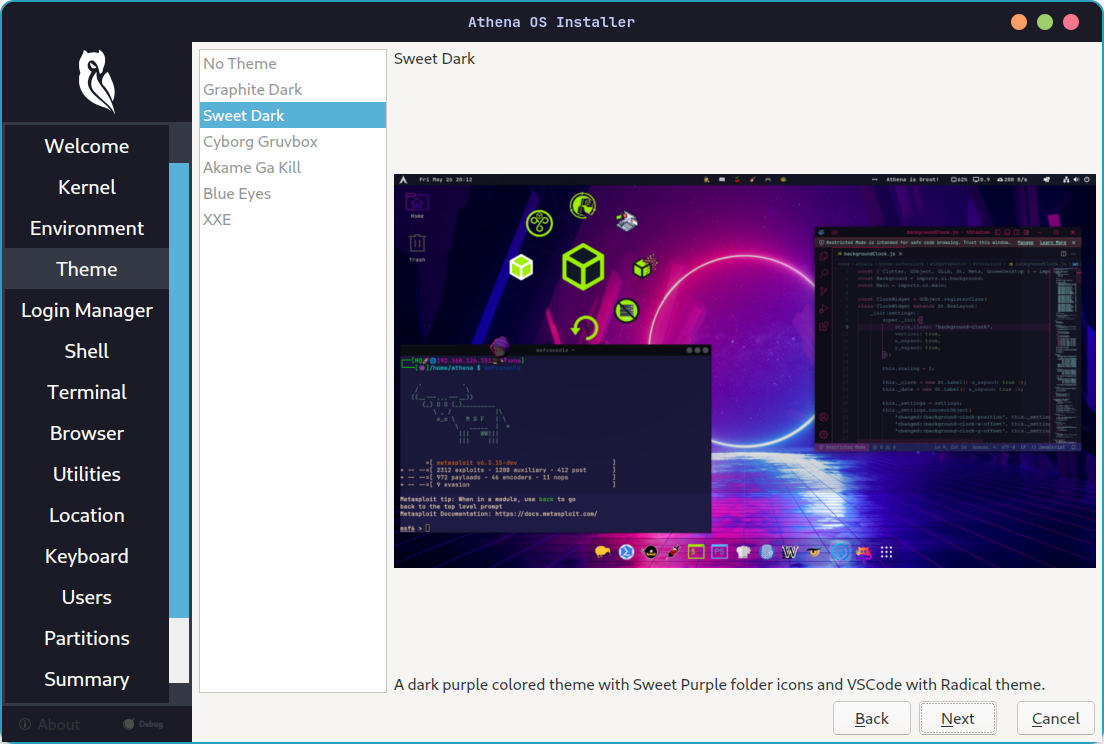
Availability: Advanced Installation.
-
Select your favourite theme
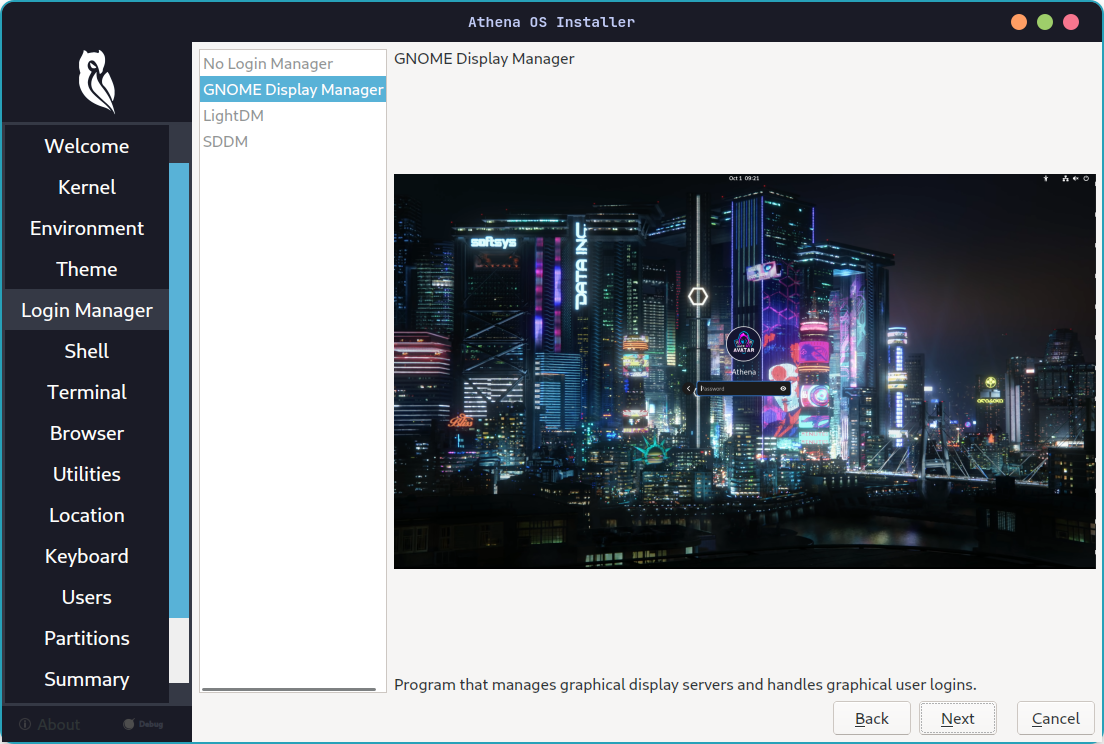
Login Manager
Section titled “Login Manager”Availability: Advanced Installation.
-
Select your favourite display manager for login
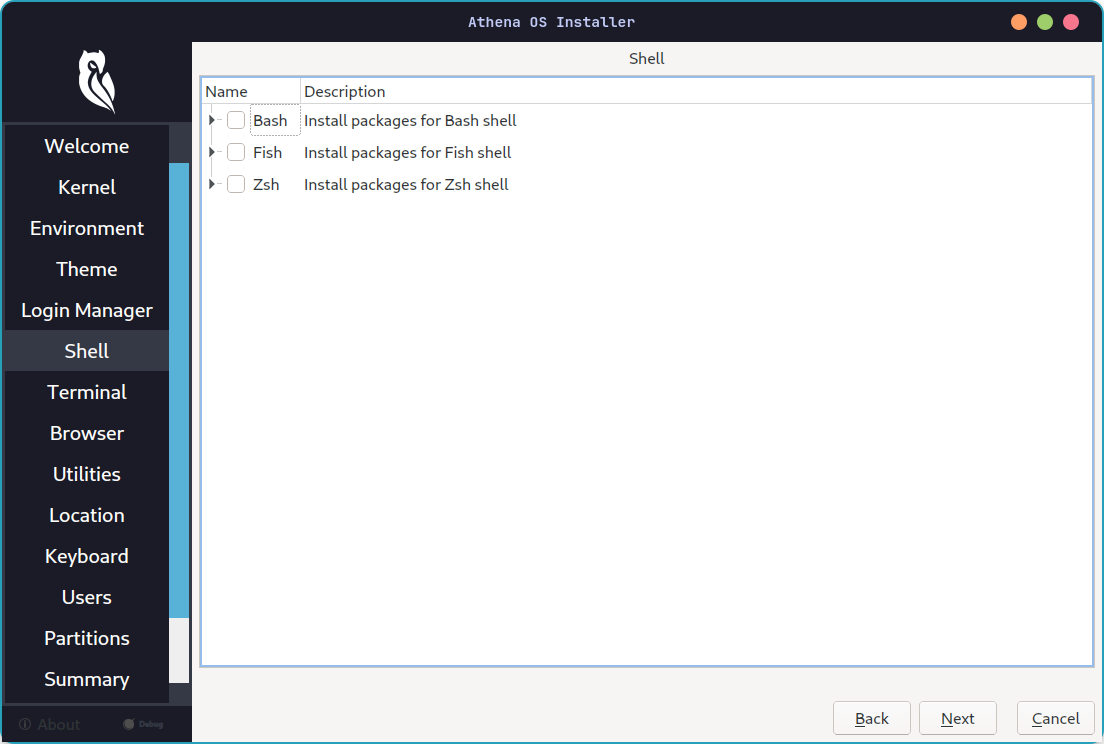
Availability: Advanced Installation.
-
Select your favourite shell
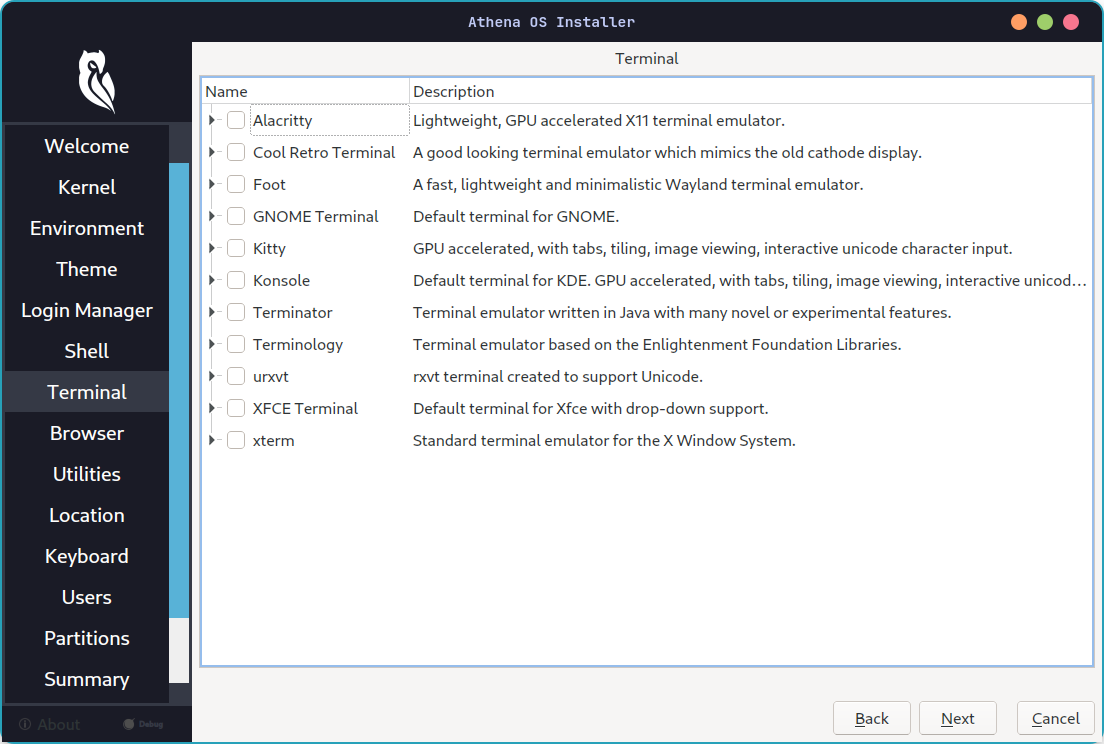
Terminal
Section titled “Terminal”Availability: Advanced Installation.
-
Select your favourite terminal
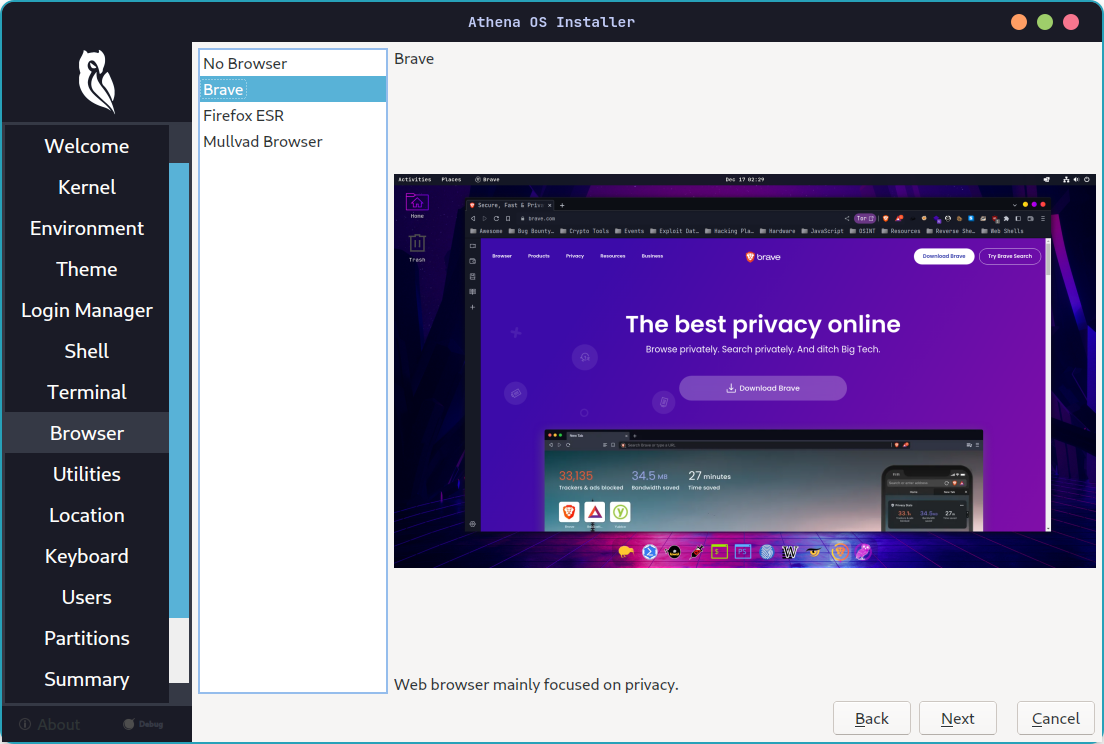
Browser
Section titled “Browser”Availability: Advanced Installation.
-
Select your favourite browser
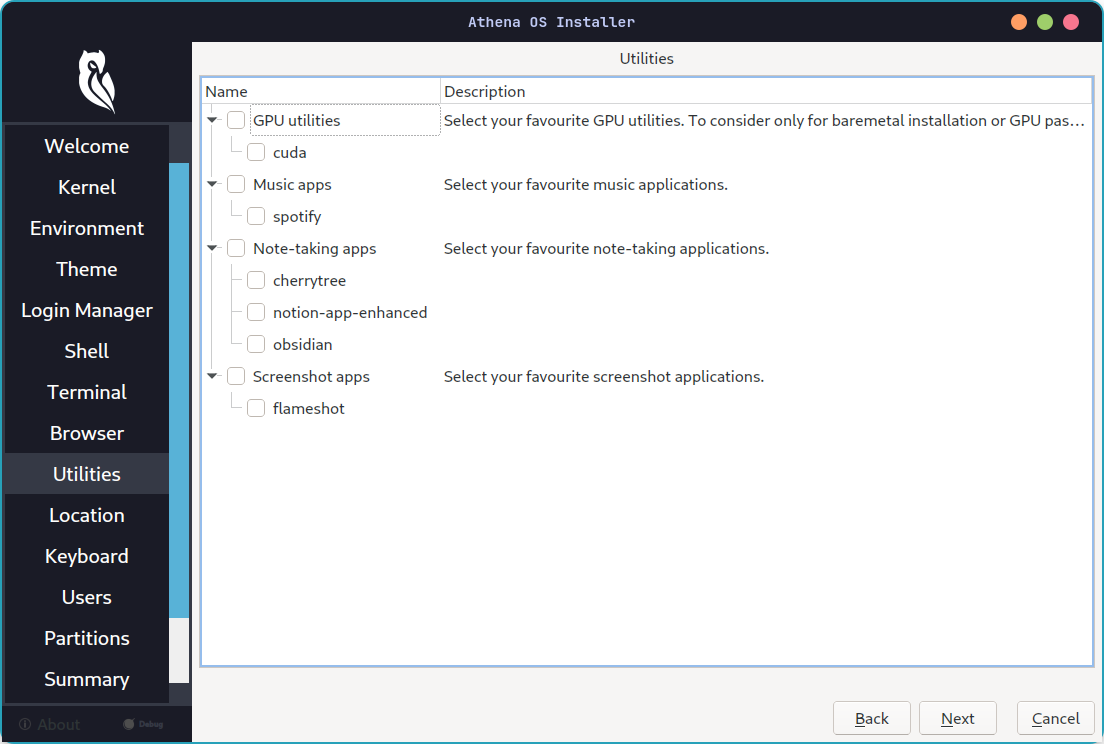
Utilities
Section titled “Utilities”Availability: Advanced Installation.
- Select your favourite utilities
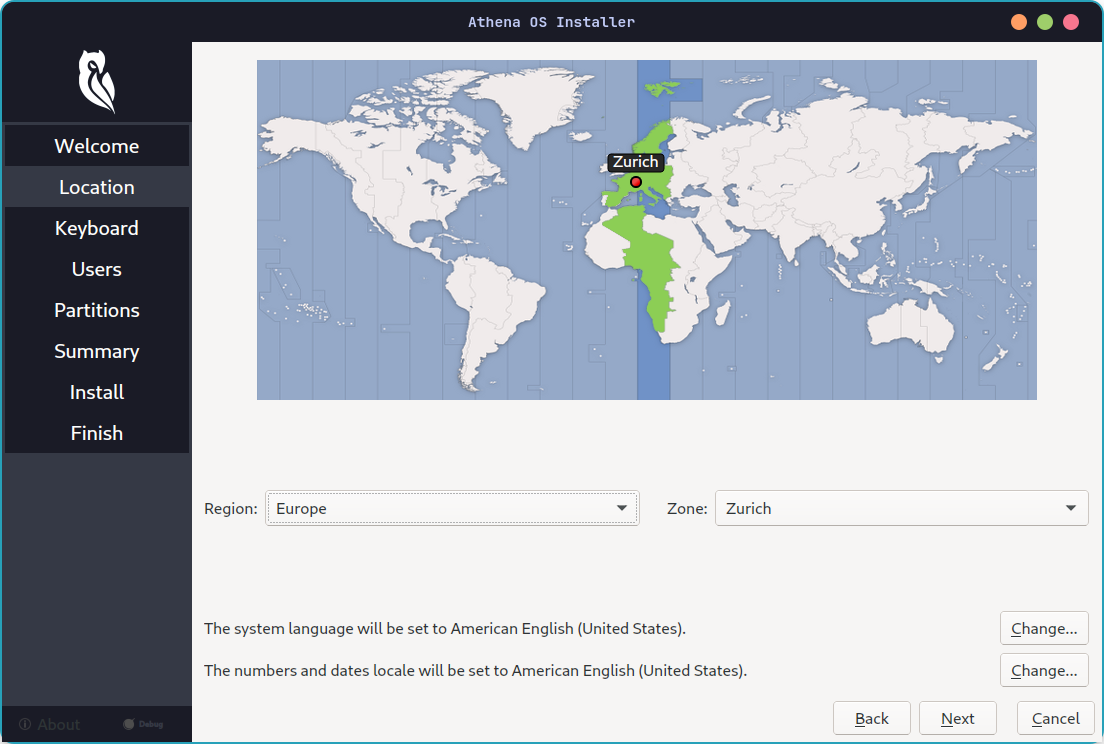
Location
Section titled “Location”Availability: Easy and Advanced Installation.
- Select your location and timezone
Keyboard
Section titled “Keyboard”Availability: Easy and Advanced Installation.
- Select your keyboard layout

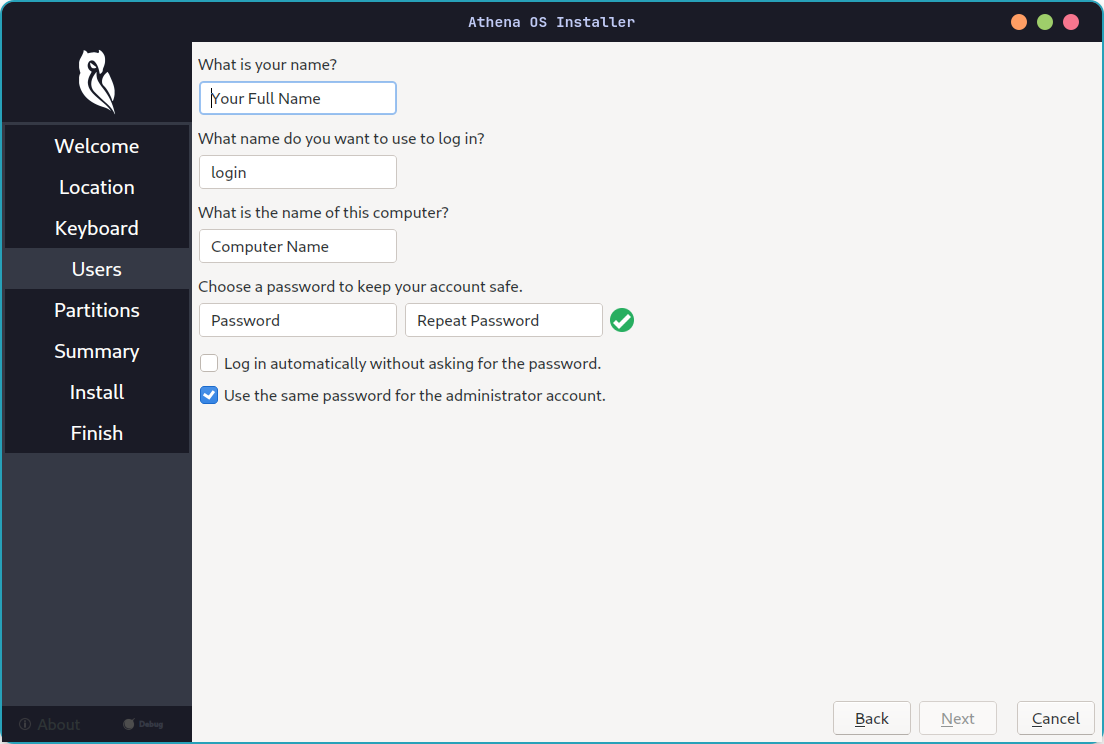
Availability: Easy and Advanced Installation.
- Set your user account
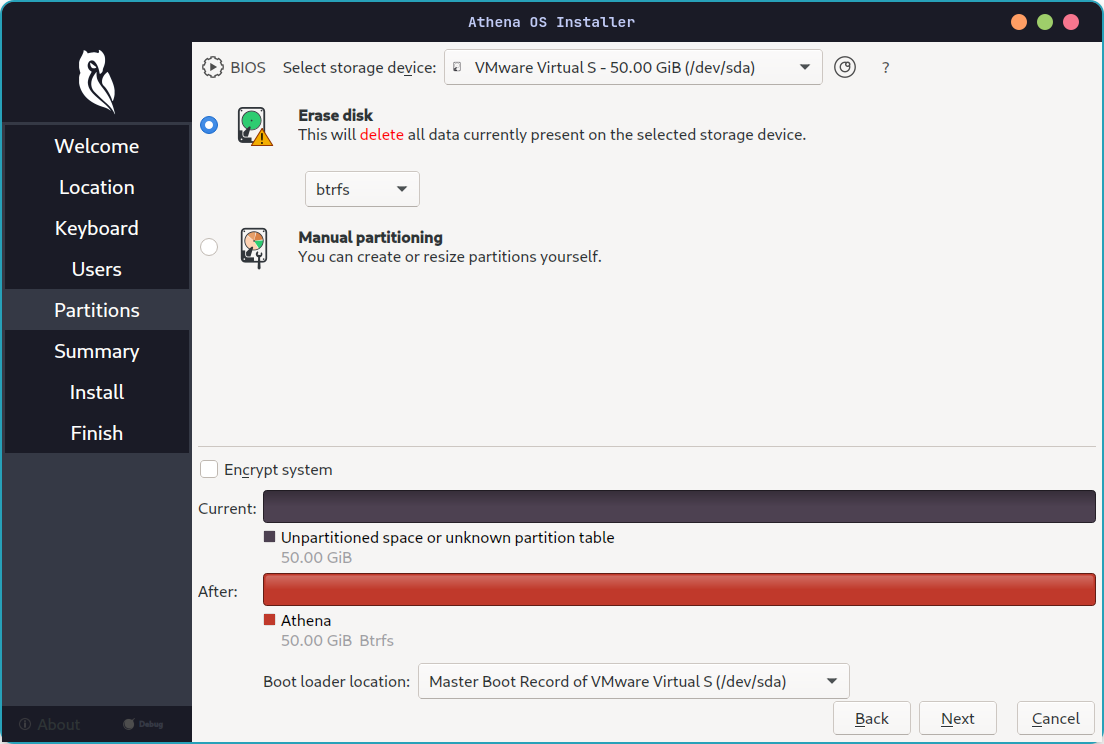
Partition
Section titled “Partition”Availability: Easy and Advanced Installation.
- Select your partition according to the installation type you are going to. Check the Installation chapter related to your setup and follow there the partition scheme to implement:
-
Installing as dual boot with Linux or Windows
For virtual machine scenarios, just select Erase disk
-
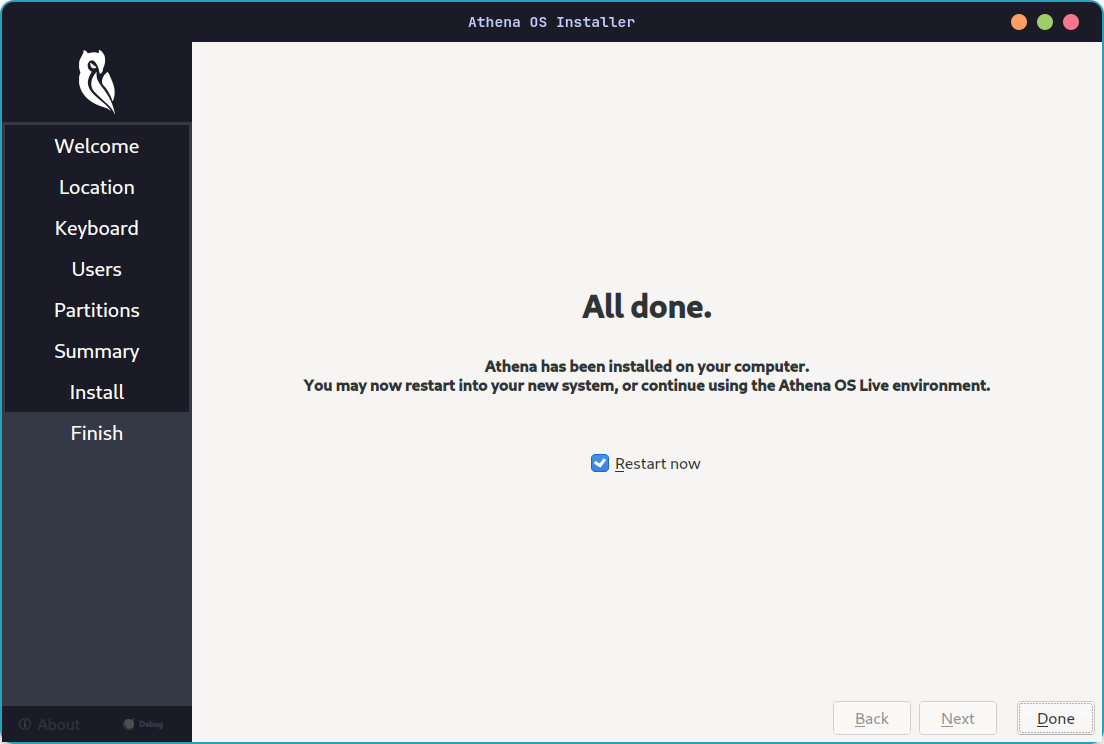
Review the Summary and run the installation.
During the installation, you can click on Toggle log button for reading in real time the installation logs. In case the installation gets some issues, Calamares provides to you a link to https://termbin.com where the logs are temporary saved in order to be accessed by the Athena OS team for troubleshooting.
-
If no errors have been raised during the installation phase, you are ready to use Athena OS!